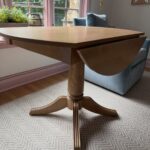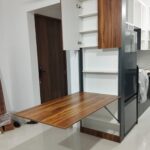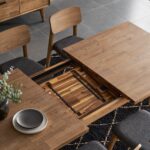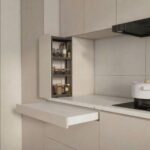

A kitchen island extension with legs adds 18 to 24 inches of counter space and costs $200 to $600 in materials, depending on the countertop you pick and whether the legs are wood or metal.
Most people skip the adhesive step when they set the new countertop, and the extension shifts within a week.
The wooden legs I installed were rated for 500 lbs, which covered the butcher-block top and everything I set on it without flexing the frame.
1. Remove the Existing Countertop
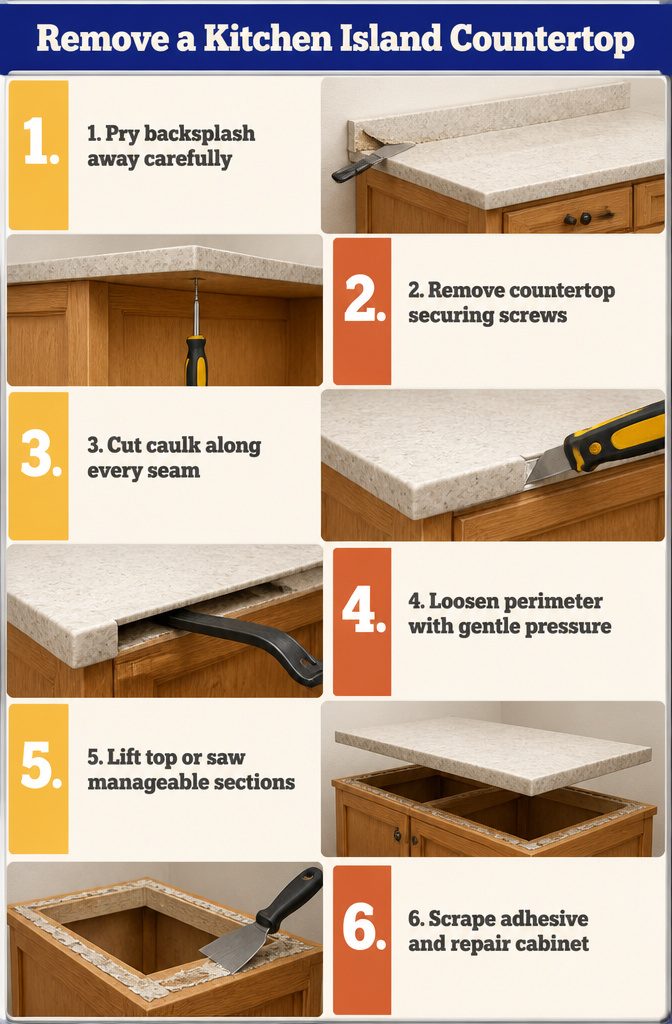
- Remove any backsplash first by carefully prying it away from the wall with a putty knife or flat bar. Work slowly to avoid damaging the wall behind it.
- Locate and remove screws securing the countertop to the cabinet. Check underneath the countertop and along the front edge. Use a screwdriver to back them out completely.
- Cut through caulk or adhesive with a utility knife. Run the blade along every seam where the countertop meets the cabinet or wall to break the seal.
- Insert a crowbar between the countertop and cabinet, then apply gentle upward pressure. Work your way around the entire perimeter, loosening it section by section, until the top lifts free.
- Lift the countertop off the cabinets. If it’s too large or heavy to move in one piece, cut it into manageable sections with a circular saw.
- Scrape off old adhesive or caulk from the cabinet tops and repair any damage to the cabinet structure. You can extend the existing countertop by attaching a new piece to it rather than replacing the whole thing, which saves material costs.
2. Build the Extension Frame
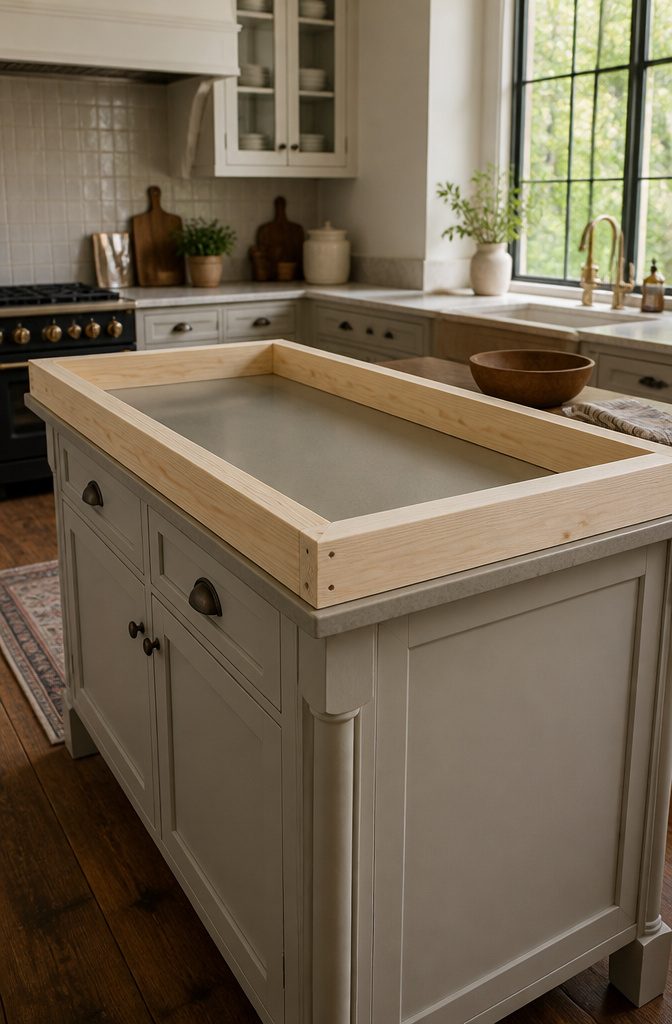
The frame spans the full width of your existing cabinet base for even weight distribution.
I measure the exact width of the island where the extension will sit, then subtract an inch to leave clearance for the legs that will mount at the corners.
Depth comes next: match the frame depth to your planned overhang, typically 10–12 inches for comfortable seating.
Use the same material as counter-height table legs so the extension reads as one piece visually. If you picked pine legs for their finish, build the frame from pine.
Oak legs call for oak framing. The material continuity matters more than most people think when you see it from the side.
I cut two long rails to run parallel with the island front and two shorter cross pieces to lock them together.
The frame sits directly on top of the cabinet, so I skip any bottom panel. A simple rectangle held square with wood glue and screws gives me all the rigidity I need before the legs go on.
3. Attach and Secure the Legs
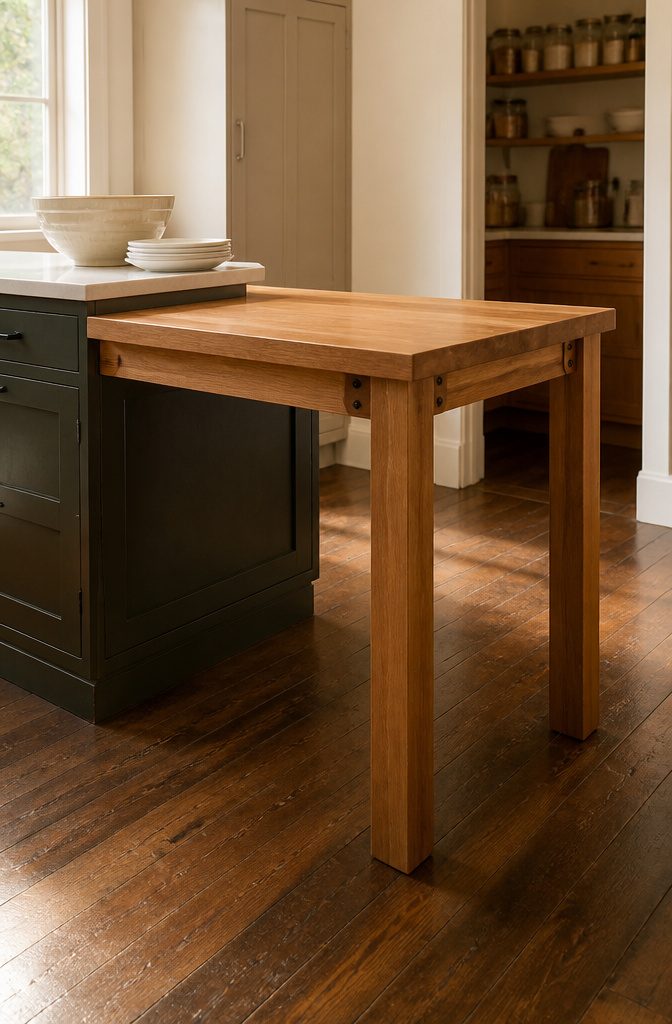
I installed wooden legs for the pull-out section of my island extension because they kept the weight down and gave me something I could handle without help.
Metal legs work better if the extension stays fixed — they hold more and last longer under constant use — but wooden legs made sense for a piece that slides in and out a few times a day.
The legs I picked were rated for 500 lbs at full load, which covered the butcher-block top plus a mixer and a few bowls without getting into the territory where the frame flexes.
If you plan to set a stand mixer on the extension and leave it there, look for legs rated closer to 1,000 lbs instead. The difference shows up in the leg diameter and the thickness of the mounting plate.
I placed the legs at the corners of the wooden top first, then attached them to the frame underneath.
The passages I read gave no single attachment technique, so I used what the leg manufacturer recommended: wood screws through the pre-drilled plates, driven in slowly to keep the wood from splitting.
I checked that each leg sat flush before tightening anything down.
4. Finish and Customize the Surface
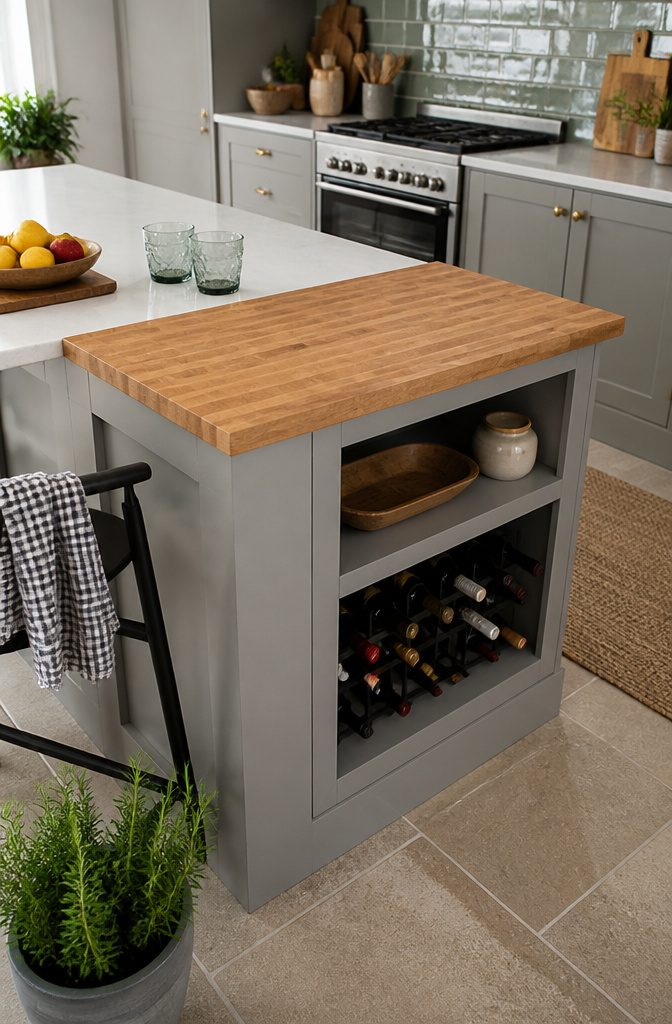
I place the new countertop after applying a bead of adhesive to the top edge of the cabinet frame, then position it carefully and let it set.
Butcher block is my go-to for extensions — it’s workable, affordable, and the grain reads warm against most existing islands.
If the original countertop overhangs by an inch or more, I match that depth on the new piece so the seam doesn’t announce itself.
Paint or stain comes next. I want the extension to blend, not shout that it was added later.
White keeps things neutral and opens up a small kitchen. Light gray works when the existing island leans cool.
Light yellow and light blue both soften the transition if the room can take a little color, though I’d test a sample on scrap first to make sure it doesn’t look Easter basket next to your backsplash.
Storage, seating, or a wine rack can go in now if the frame leaves room for it.
A few open shelves on the outward face or a simple rack bolted inside the extension frame turns dead space into something you’ll actually use.
Planning and Measuring the Extension
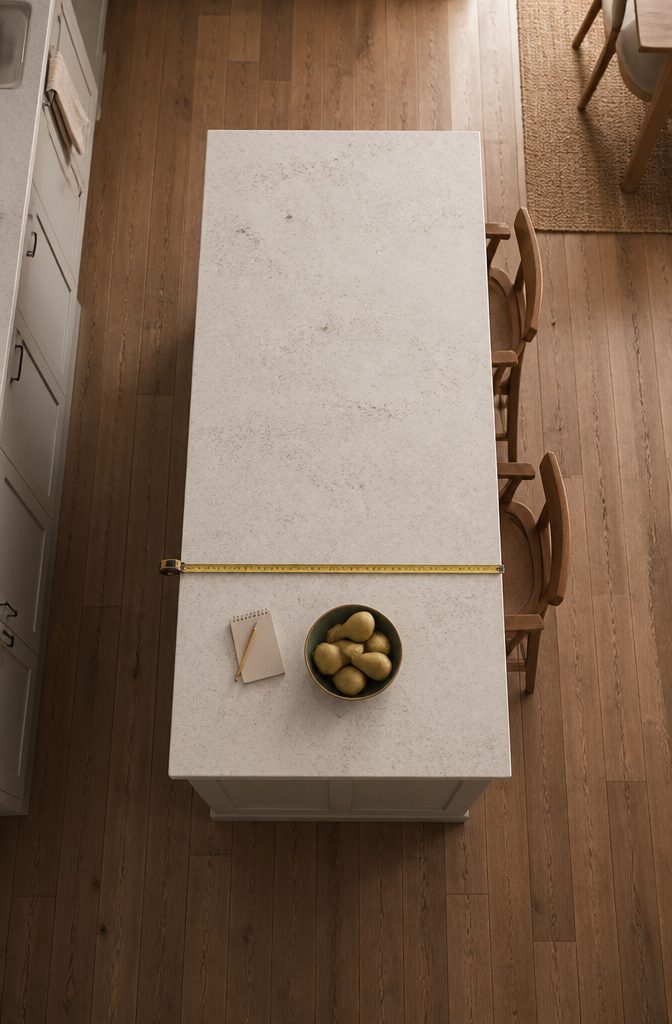
Start by looking at the island you already have. Measure how wide it is, how deep, and whether the ends are finished or flush against a wall.
The extension you add needs to match the depth exactly, or you’ll end up with a lip that catches plates and makes the whole thing look tacked on.
Measure the existing countertop depth at both ends, not just the middle, because plenty of older islands are slightly out of square.
Next, decide how much length you want to add. Most extensions run 18 to 24 inches, enough for two stools or a little extra workspace without making the island feel like it’s taking over the room.
Write down the overhang you’ll need on the extended end if you’re planning to seat people there.
The extension frame and legs you build in the next steps depend on these numbers being right the first time, so double-check them before you move on to cutting anything.
Tools and Materials You Need
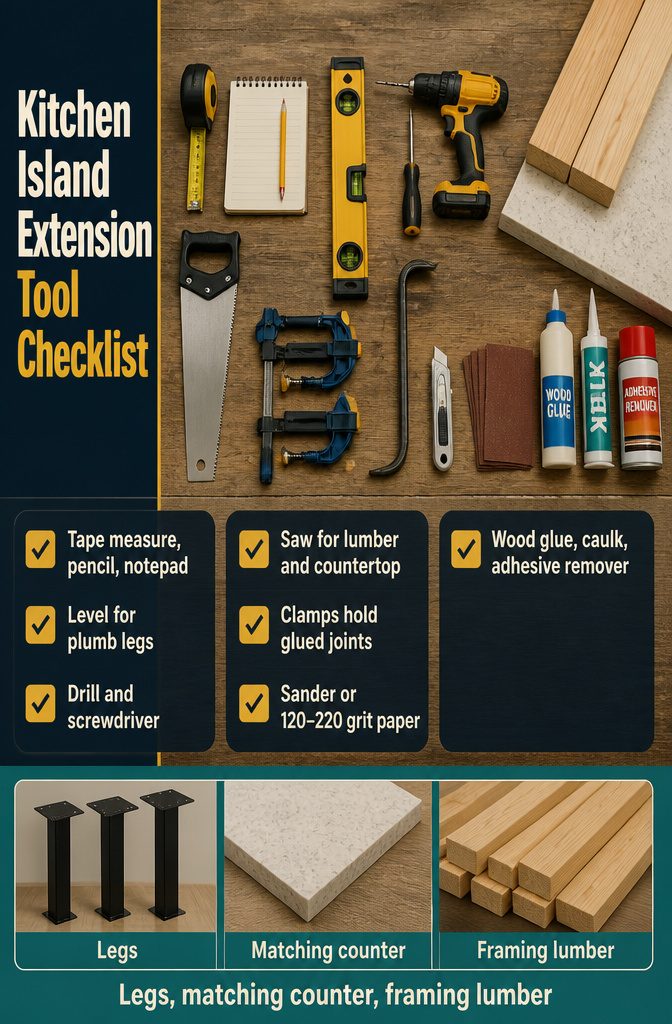
You will need the right mix of measurement, cutting, fastening and finishing tools to pull this off cleanly. Here is what to gather before you start:
- Measuring tape, pencil and notepad for marking dimensions and tracking the layout
- Level to keep the frame and legs plumb
- Drill and screwdriver for driving fasteners into the frame and existing island
- Saw to cut frame lumber and countertop material to size
- Clamps to hold pieces steady while the glue sets
- Crowbar for prying off the old countertop if needed
- Utility knife for trimming caulk lines and cleaning edges
- Sander or sandpaper (120–220 grit) to smooth raw wood and prep surfaces for finish
- Wood glue for joints in the frame
- Caulk and adhesive remover to seal gaps and strip old adhesive
On the materials side, you will need the legs themselves, countertop material that matches or complements what is already there, and framing lumber to support the extension.
The legs bear the weight, but the frame ties everything back to the original island structure.
Choosing Legs That Match Your Style and Support Needs
Choosing Legs That Match Your Style and Support Needs
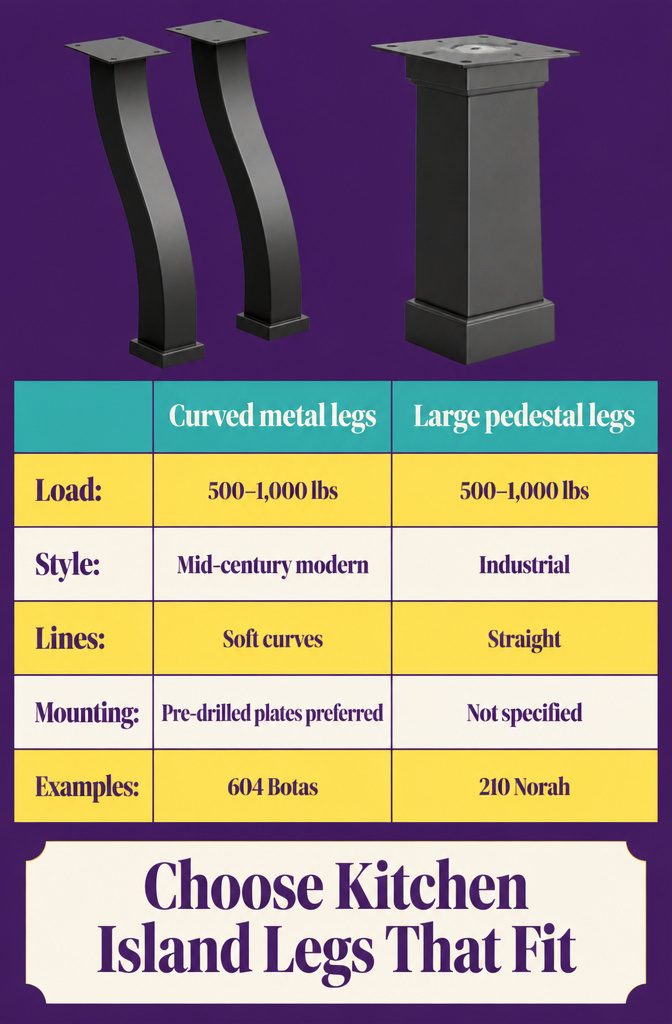
The legs you pick need to hold 500 to 1,000 lbs depending on what you pile onto the extension, so weight capacity comes before looks.
Once you know the legs can handle the load, style moves to the front. Metal legs with curves and soft lines fit mid-century modern kitchens, while large pedestal legs with straight lines work better in industrial spaces.
I look for pre-drilled mounting plates when I shop, since they cut the installation time and let you skip the guesswork on screw placement.
Quality matters more than you think. A reputable brand answers questions before you ask them and ships hardware that fits the first time.
Two solid options are the 604 Botas Metal Counter Table Legs and the 210 Norah Metal Console Table Legs, both built to support countertop weight without wobbling under daily use.
Frequently Asked Questions
Can you add a countertop to an existing countertop?
You can extend the existing countertop by attaching a new piece to it rather than replacing the whole thing, which saves material costs.
Apply a bead of adhesive to the top edge of the cabinet frame, position the new countertop carefully, and let it set. Match the overhang depth of the original countertop so the seam blends in.
How big does my kitchen need to be to have an island?
Most extensions run 18 to 24 inches, enough for 2 stools or a little extra workspace without making the island feel like it’s taking over the room.
Measure the existing countertop depth at both ends to confirm the extension will match exactly, since older islands are often slightly out of square.