
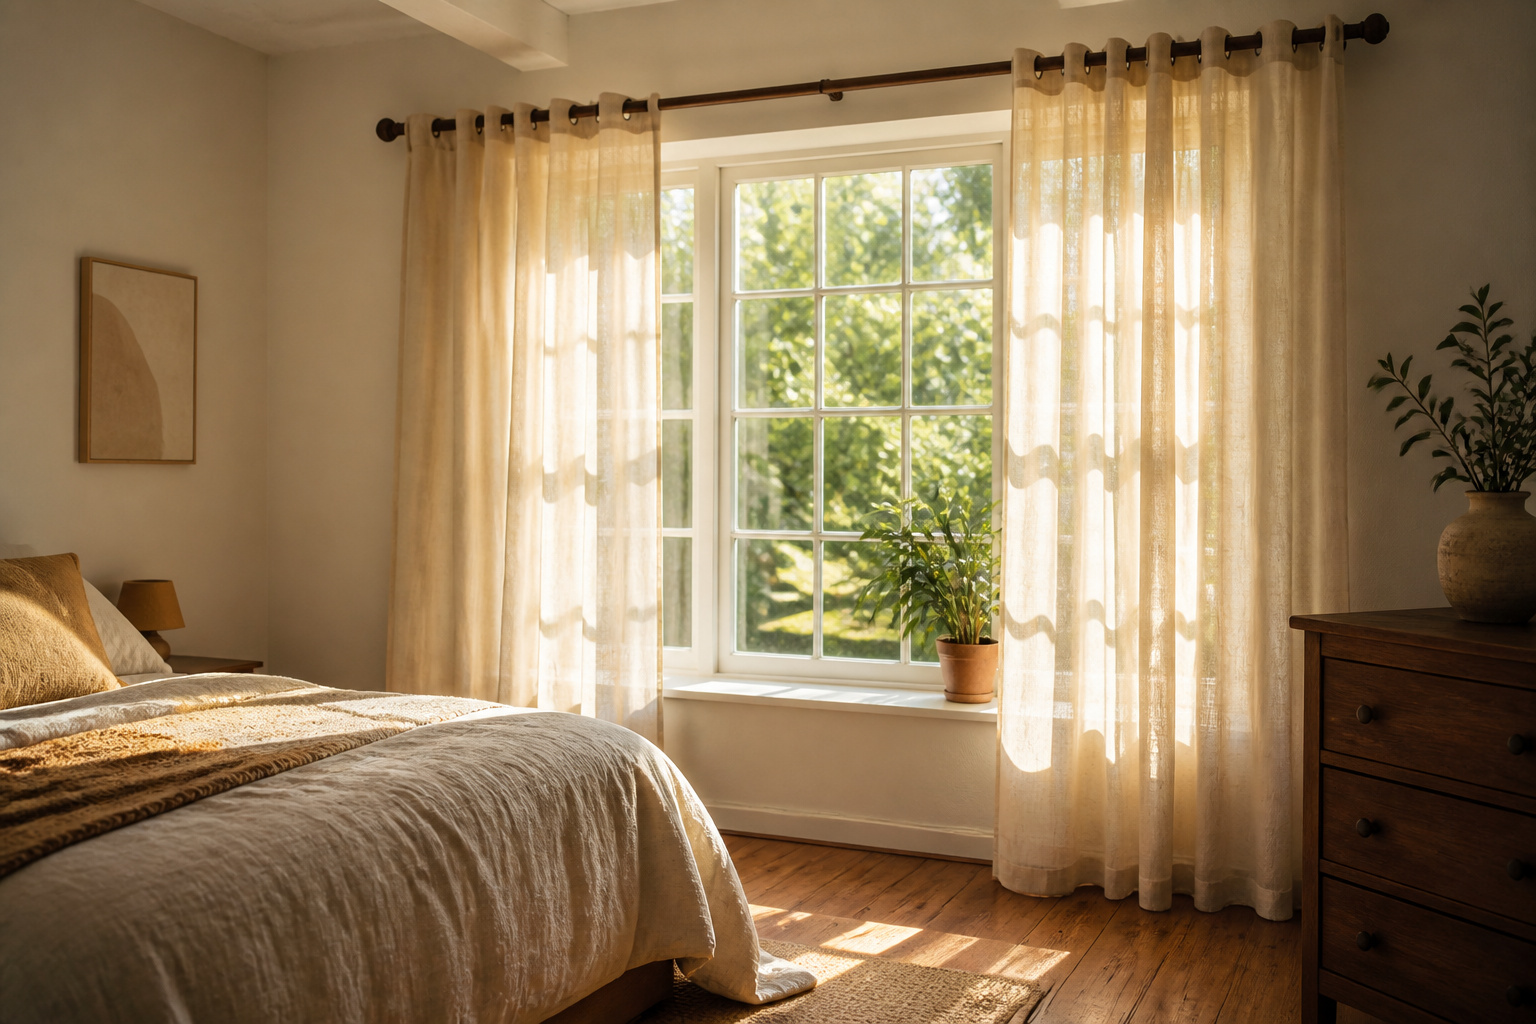
A DIY curtain rod is a wood dowel, cut to length, paired with brackets you either buy for $1.49 apiece or shape yourself with a hole saw.
The catch is sag: past eight feet, a 1-inch dowel bows under its own weight unless you add a center support, and uneven brackets will distort the whole rod once fabric weight hits.
IKEA’s Betydlig bracket, with its curved steel cradle, sits the dowel flush to the wall without extra hardware, which is why the whole build stays under $20 per window.
1. Gather Materials
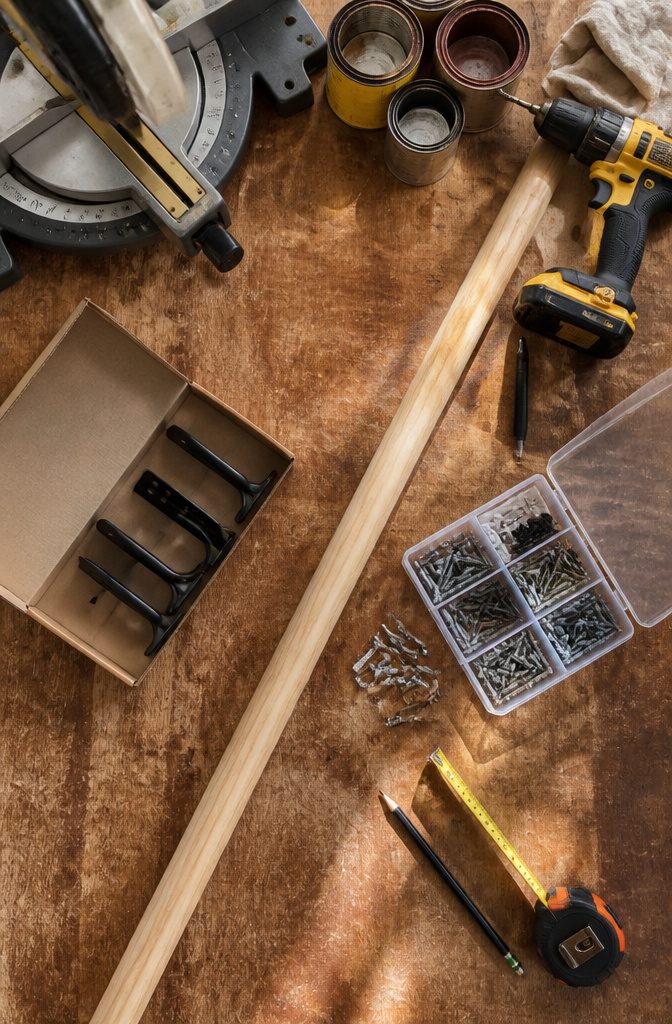
A 1.25-inch wood dowel runs about $8–12 at most hardware stores and gives the rod enough heft to feel finished without sagging across a standard window.
I buy mine a foot or two wider than the frame so the curtain stacks clear of the glass when open.
IKEA’s Betydlig brackets at $1.49 apiece are the open secret in this build.
They’re steel, low-profile, and the curved cradle sits the dowel flush against the wall without extra hardware. Four to six screws per bracket hold fine in drywall with anchors; skip the toggle bolts unless you’re hanging heavy blackout panels.
For tools, a miter saw or even a cheap pipe cutter handles the dowel cleanly. A cordless drill drives the screws.
Finishing is where the look gets decided: Minwax Special Walnut stain goes on in one coat and reads as aged oak, or any leftover interior paint works if the room already has a color story.
I skip finials most of the time. They cost more than the rod and the bare dowel end disappears into the curtain stack anyway.

Packing content: 4 pieces ×curtain rod bracket, some mounting screws

Package included: 4pcs/2 pack closet pole brackets fit for rod in diameter 1-3/8"/35mm, 4mm*25mm screws, wall anchor included. Outer diameter: 2"/51mm
2. Measure and Cut the Dowel
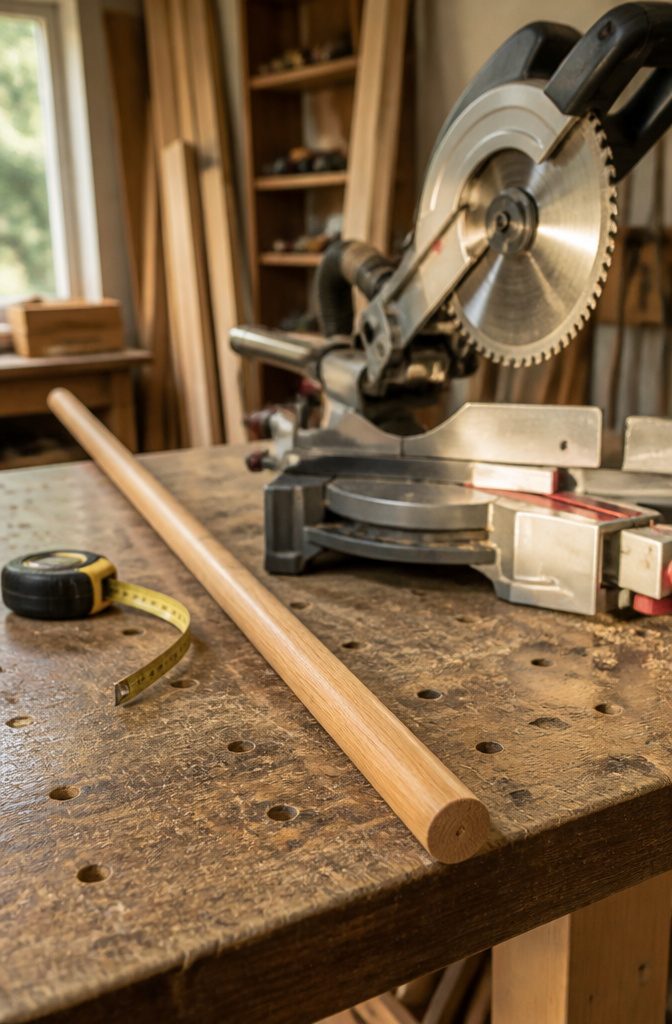
Window width alone will not get you a rod that looks right.
Add 12 to 24 inches of total overhang so the stack of fabric clears the glass when the curtains are open; anything less and you will block daylight even when you are trying to let it in.
A 24-inch rod handles a narrow laundry window or small bathroom just fine if that is the space you are working with, and the dowel is cheap enough that custom lengths do not hurt.
I mark the cut line with a pencil, then run a miter saw for a wood dowel or a pipe cutter for a metal one.
The pipe cutter works best if you do not bear down all at once; tighten a little with each rotation and the edge stays clean instead of crimped.
A six-foot dowel runs under $15 at most hardware stores, and an eight-foot stick still stays under $20, so buying extra and trimming beats coming up short.


3. Prepare the Brackets
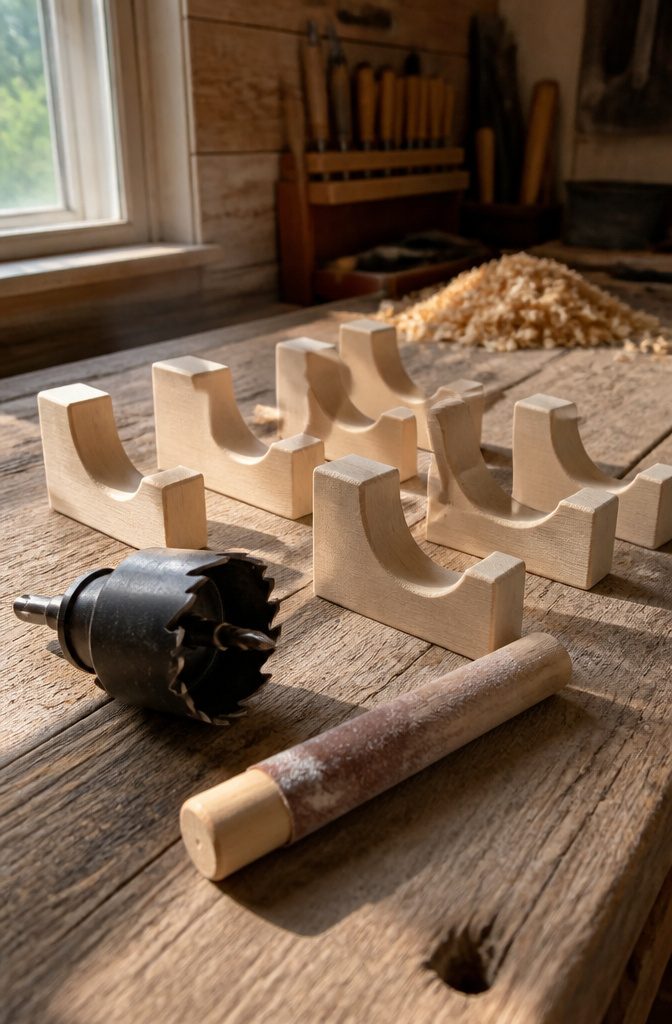
A hole saw turns each wooden bracket into a cradle for the dowel. You mark the cut line just below the top edge, then let the center bit bite first so the blade follows through without wandering.
The result is slightly more than half a circle, which is exactly what you want; gravity and the wall will do the rest.
Store-bought brackets skip this entirely, since they come with a hook or a cup already formed.
Doing it yourself means sanding the curve smooth enough that the rod slides without catching, and the flat side of the bracket face will thank you later.
A round sanding stick works faster than folded paper for the inside of the cut.
For spans past 100 inches, three corbels keep the rod from bowing in the middle.
Two looks cleaner, but wood dowels sag under their own weight once you cross that length. I would rather patch a third screw hole someday than watch curtains pool on the sill for years.

FIX SAGGING INSTANTLY – STOP DROOPING SHOWER RODS: Tired of drooping shower rods? This anti-sagging ceiling support keeps your curtain rod perfectly straight and stable — even with heavy curtains or extended curved rods. Supports up to 50 lbs, ensuring your rod stays secure for years.

Anndason Heavy Duty Adjustable Curtain Rod Brackets,add a dash of Style and Elegance to your – home, office or anywhere else you decide to use then.

Complete Side Wall Mounting Solution: Includes 10 pieces of side wall mounting brackets specifically designed for VRSS flexible curtain track systems
4. Distress and Finish
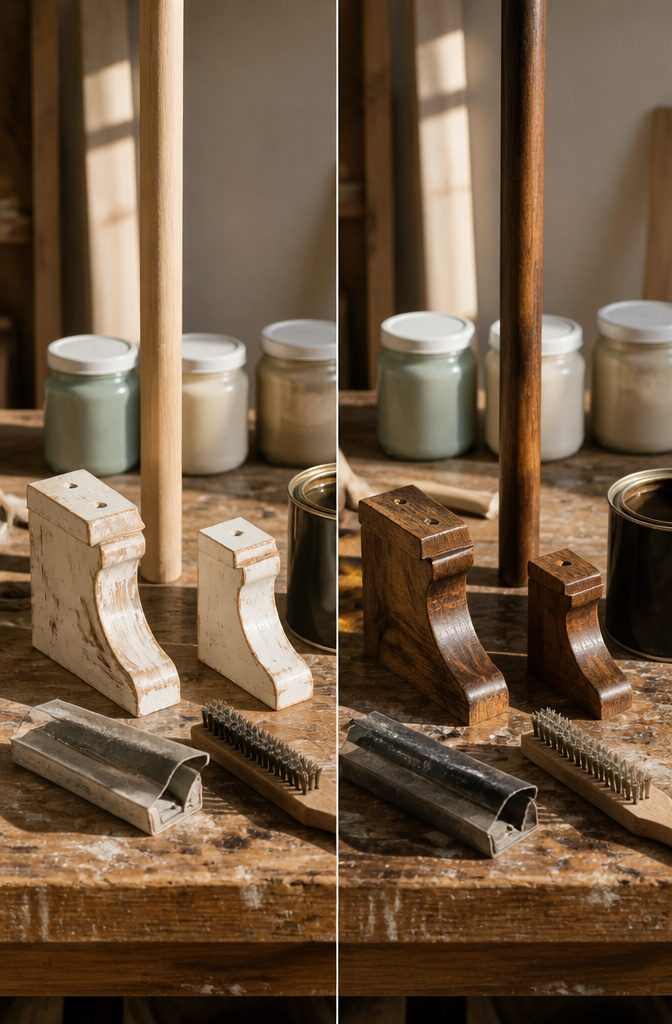
Distressing the brackets before cutting them is the safer play. One attempt at the hammer-and-dent approach split a corbel clean in half after the cut, so the wood has more integrity when it is still whole.
A round Dura Block sanding stick cleans up the rough edges from the hole saw, and sticky sandpaper on a block works the flat faces.
The stainless steel wire brush from the materials list adds another texture layer if you want the grain to read more aggressively under finish.
For color, Minwax Special Walnut gives the dowel a mid-tone warmth that reads as wood rather than mud.
One builder switched mid-project from Weathered Oak to English Chestnut on inexpensive corbels because the lighter stain turned flat and lifeless; a darker stain with some red in it hides the cheap grain better.
If you are painting instead, Annie Sloan Cream or Paris Gray chalk paint dry-brushed on keeps the carved detail visible, and clear wax only, no dark wax, preserves the lightness.
The dark wax swallowed the white brushwork in testing and aged it past the point of no return.

😀Crafted of durable metal

【Durable Construction】These curtain rod support brackets are crafted from sturdy iron metal, ensuring they are not easy to bend, break, or deform. The material provides reliable connection performance and long-term durability. The surface is smooth without scratches and features a rust-resistant finish, maintaining its integrity and appearance even with prolonged indoor or outdoor use

Package List: You will receive 4 single curtain rod brackets, which are durable and can be used for indoor and outdoor single rod curtain designs. Sufficient quantity can meet your daily use and replacement needs
5. Install Brackets Level
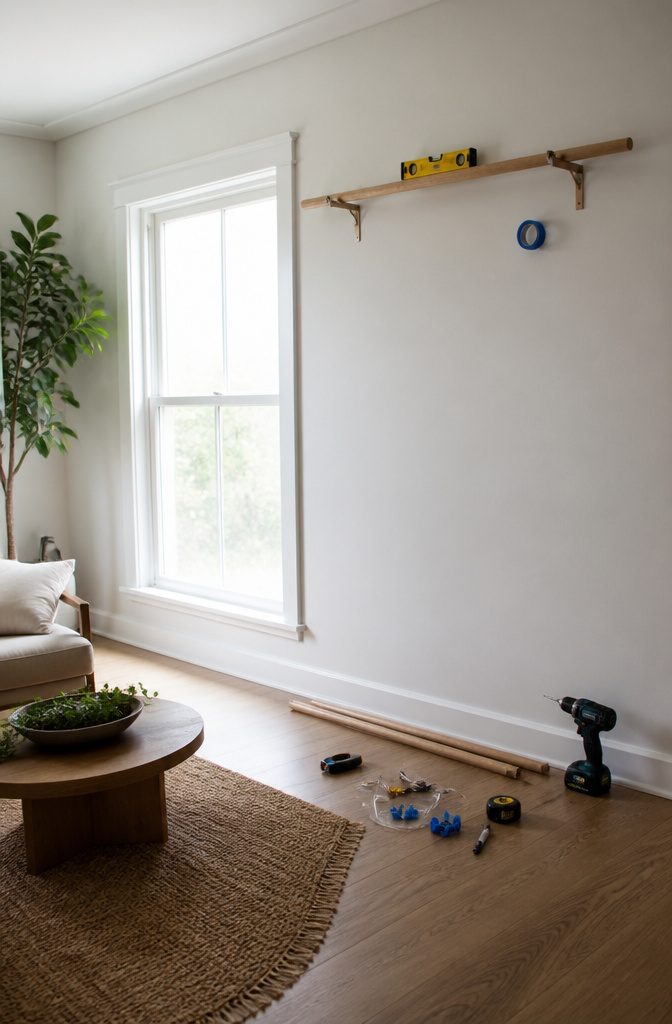
The bracket-to-wall step is where weekend projects die, usually because the rod looks straight until the curtains go up and then one side pools on the floor.
Uneven brackets distort the whole rod, and fabric weight only makes the sag more obvious.
Studs are worth hunting for. A screw driven into solid wood holds more than a wall anchor ever will, and the bracket sits flush without the flex that drywall anchors allow.
Where the stud spacing misses your mark, a plastic anchor works, but the bracket will shift slightly under load. That shift multiplies across a four- or six-foot span.
Leveling across two brackets is the part people rush. A small level on the bracket edge gets you close; a longer level spanning both mounts catches the real error.
Painter’s tape on the back of the bracket, poked through at the screw hole, beats trying to hold a bracket and mark a wall at the same time.
Mark one, hang it, then use the rod itself as a straightedge to locate the second. Six brackets done this way land level on the first try, versus the nine-hole alternative.

Package Content: 4pcs x ceiling mount closet pole socket pipe bracket holder with screws,which is suitable for curtain rods, clothes drying rods, shower curtain rods, etc.

QUANTITY: You will receive 6 unfinished dowels, these two-hole dowels are easy to work with and suitable for everyone.

EVERYTHING YOU WANT IN A DOWEL Straight? Check! Strong? Check plus! Uniform in size and color? You got it. Woodworkers, wood crafters, DIYers—this is the quality hardwood dowel you've been looking for.
6. Hang the Rod and Adjust
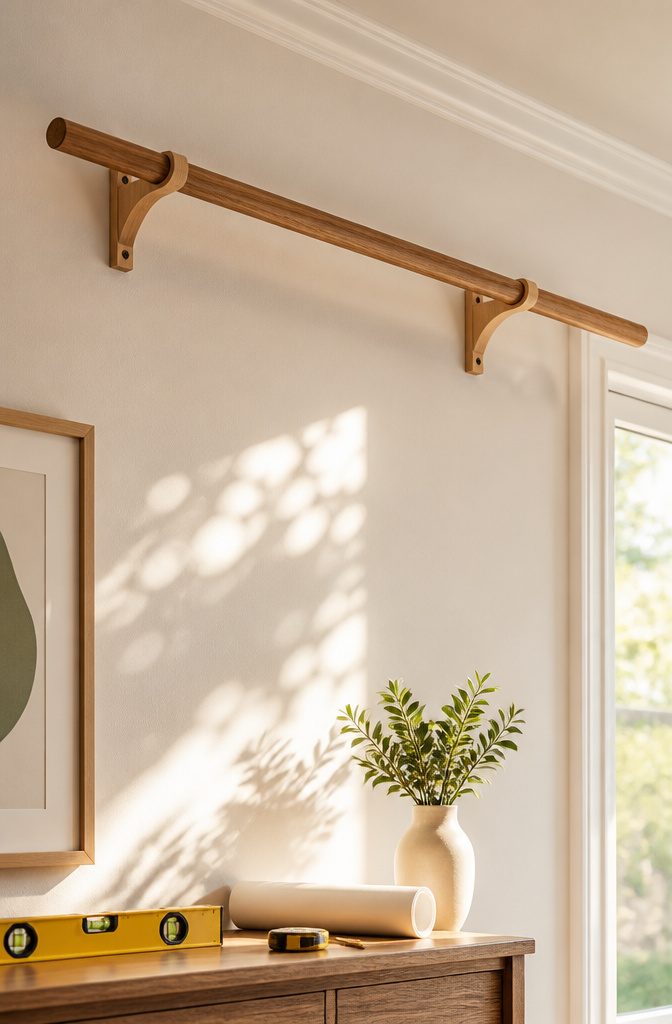
The dowel should drop into the brackets with almost no resistance, and a rod that spins freely means the bracket cuts were clean.
Threading finials onto the ends, if you are using them, locks everything in place and adds the weight that keeps the rod from shifting when curtains slide open.
Level is the last check, not the first.
Step back from the window and sight along the top of the rod. Small dips are usually in the bracket, not the wall.
Tightening the bracket screw another quarter turn can pull one side up just enough, or loosening and shimming with a folded piece of cardstock works for rentals where you do not want new holes.
A little wobble in the middle usually means the bracket hole is slightly oversized or the cut angle is off.
Pop the rod out and look at where the bracket meets the wood. A quick pass with sandpaper wrapped around a dowel scrap, used like a file inside the curve, takes down high spots without weakening the bracket.
Test fit after every few strokes. The goal is snug, not squeezed.

KENNEY MANUFACTURING: Celebrating more than 100 years, Kenney Manufacturing is defined by its strength, integrity, and consumer-first mindset—crafting window hardware, bath accessories, and storage products built to last.

Package includes: 2pcs wooden curtain rod brackets; mount directly to walls or ceilings for maximum space efficiency; securely hold curtain rods without taking up unnecessary space

Inner diameter 1.18"/30mm, height 4.64"/118mm, width 1.65"x0.98"/42x25mm; installation top 3.85"x0.98"/98x25mm, hole spacing 2.95"/75mm
What This Costs Against Store-Bought
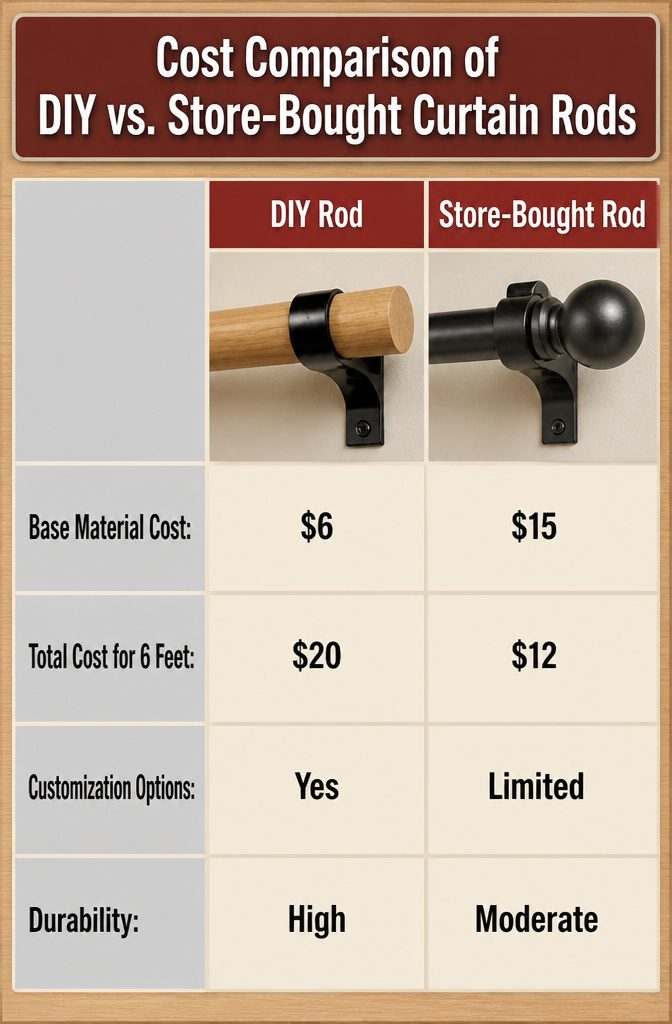
A 1-inch hardwood dowel runs about $6 at most hardware stores, and four IKEA Betydlig brackets at $1.49 each puts the whole bracket set under $6.
Even adding a cheap stain or paint from the garage, the DIY route stays well under $20 for a standard 6-foot window.
Retail curtain rods in that same length usually start around $15 for basic steel and climb past $40 once finials and mounting hardware get counted separately.
The IKEA Racka line runs $1.99 for the rod itself, but paired with $7.99 Blast finials and those same Betydlig brackets, the store-bought version lands closer to $12 per window, not $6.
Price alone did not settle it for me. The real advantage of building is getting exactly the length you need without splicing kits, and skipping the plastic finials that loosen after a year of sliding rings.
The savings cover a second brush and a decent wood conditioner, which makes the finished rod look like something intentional rather than a budget workaround.

Product content: You will receive 2 pack white closet rod holder. Comes with installation screws and mounting anchors for easy and quick installation, ensuring that the socket is securely fixed to the wall supporting closet pole

Quality Hardwood Dowel - Straight and Strong

QUANTITY & SIZE: Includes 50 wooden dowels, 1/4 x 12 inches. Easy to handle for DIY crafts, seasonal decorations, and creative projects for Father’s Day, Mother’s Day, Halloween and Christmas
Wood vs. Metal Rods
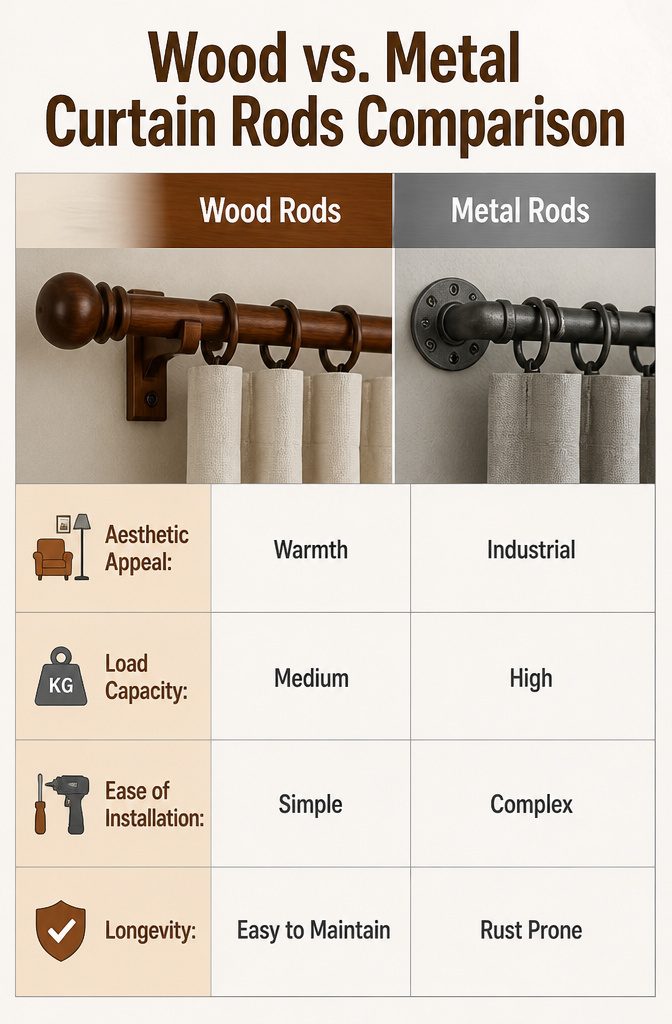
Wood dowels carry the warmth that metal simply can’t fake.
A 1-inch oak dowel in a walnut stain looks like furniture, not hardware, which matters when your living room is also your office and the rod sits at eye level all day.
That stain also hides the seam where two lengths meet, something spray paint on pipe never quite manages.
Metal pipe wins on sheer load. A galvanized steel conduit bracketed into studs will hold blackout curtains across a patio door without sagging over time.
The catch is the industrial look, which reads basement workshop unless you spend extra on black iron and wall flanges that cost more than the pipe itself.
I tried the pipe route once for a heavy linen drape in a rental, and the noise when rings slide across metal at 6 a.m. ended that experiment fast.
For light to medium curtains, wood is the simpler build.
A handsaw and drill handle the whole job, where pipe needs a pipe cutter or angle grinder and threads to chase. Wood takes stain in an afternoon; metal needs degreasing, priming, and paint that chips where the bracket grips.
A wood rod at 3/4 to 1 inch suits most cotton or linen panels under 8 feet, and if your style shifts, a new stain costs five dollars, not a full hardware swap.

Package included: 2 x stainless steel ceiling mounted shower curtain rod support bracket with M4*20mm screws, screw wall anchors, wire locking screw accessories to adjust the wire length. Hole spacing: 0.9"/2.4cm, diameter: 1.57"/4cm, string length: 59"/1.5m.

ADJUSTABLE CURTAIN ROD BRACKET: Our curtain brackets can slide forward and backward with a screw lock, so you can adjust how far from the wall you want the actual curtain rod holding portion

Premium Material and Finish: Brushed stainless steel construction with silver color finish provides durability and corrosion resistance for long-lasting use
Tools That Matter
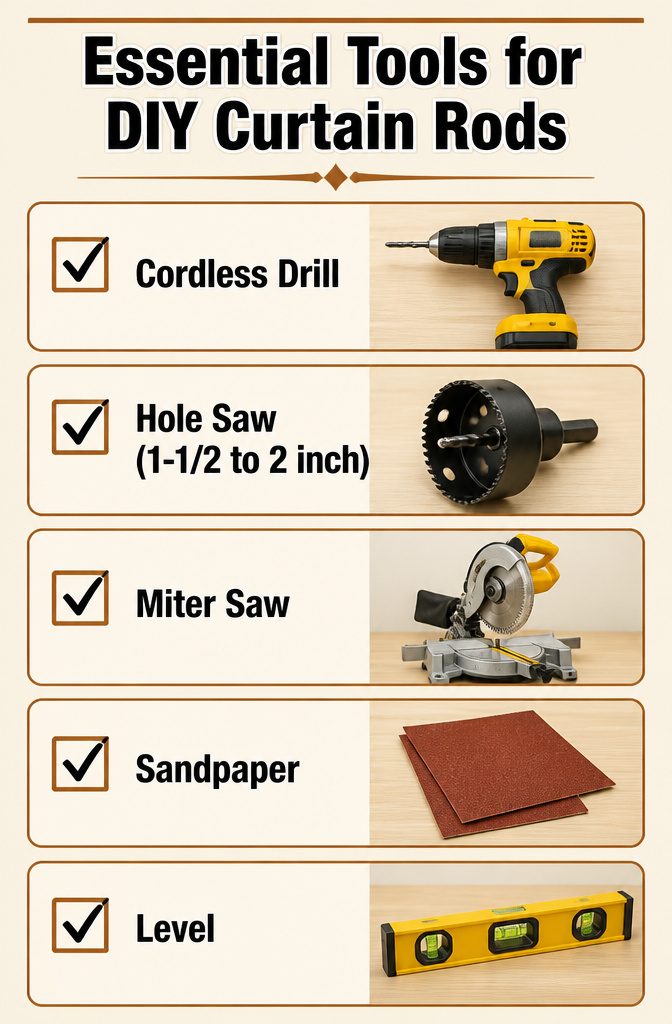
A cordless drill drives the screws and bores the pilot holes. A hole saw in the 1-1/2 to 2 inch range cuts the semicircle cradle in each wooden bracket; the center bit anchors the blade so it does not wander.
A miter saw trims the dowel square if you are working with wood, while a pipe cutter works for metal conduit and leaves a clean edge if you tighten it in small increments each pass.
Sandpaper or an electric sander knocks down the bracket edges after the hole saw. A level keeps the brackets from drifting downhill across the window frame.
The hole saw is the one tool most renters do not already own. Borrow it, or buy knowing you will use it again for doorknob hardware or vent covers.
A handsaw and miter box substitute for the miter saw if your window is narrow enough to cut on a workbench. Sandpaper at medium grit gets the job done without the dust of a power sander.
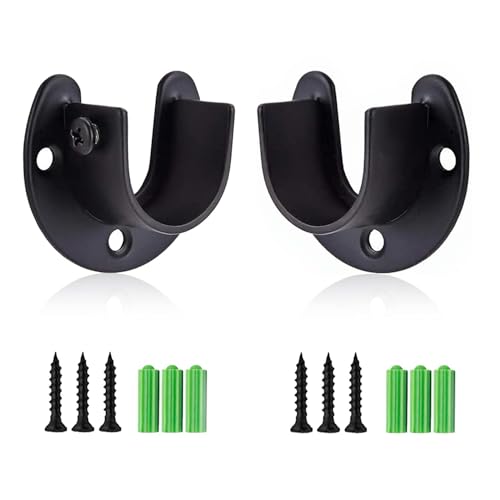
* Excellent Quality - Those heavy duty closet rod holder constructed of solid stainless steel, thick and rust-resistant makes It's long-lasting to use. Able to hold a maximum diameter of 1 Inch rod.

FITS ROD DIAMETERS — These over blinds curtain rod brackets designed for 1 inch rods. Does not fit 1-1/4" rods. These extra long curtain rod holders are ideal for large windows, heavy curtains, and extended rod setups.
Frequently Asked Questions
What materials do I need for DIY curtain rods?
A 1.25-inch wood dowel about a foot or two wider than your window frame, plus brackets like IKEA’s Betydlig at $1.49 apiece, screws, wall anchors, and a finish such as Minwax Special Walnut stain or leftover interior paint.
Tools you will need are a miter saw or pipe cutter, a cordless drill, and a hole saw if you are making wooden brackets from scratch.
How do I install the curtain rods?
Mark one bracket with painter’s tape poked at the screw hole, hang it, then use the rod itself as a straightedge to locate the second so both land level.
Drive screws into studs where you can; use plastic anchors in drywall otherwise.
Step back and sight along the top of the rod after hanging, tightening a screw a quarter turn or shimming with folded cardstock to fix any small dips.
How do I cut the curtain rod to size?
Add 12 to 24 inches of total overhang to your window width so fabric clears the glass when open, then mark the cut line with a pencil.
Run a miter saw for a wood dowel or a pipe cutter for metal; with the pipe cutter, tighten a little with each rotation rather than bearing down all at once so the edge stays clean instead of crimped.