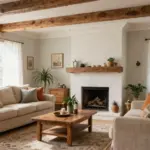
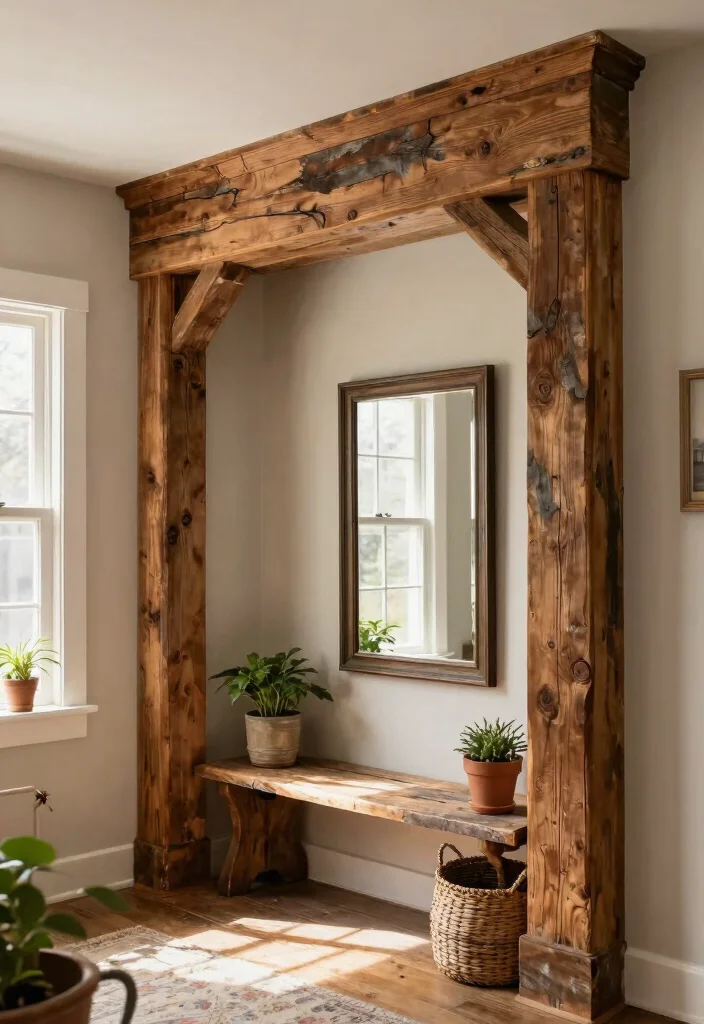
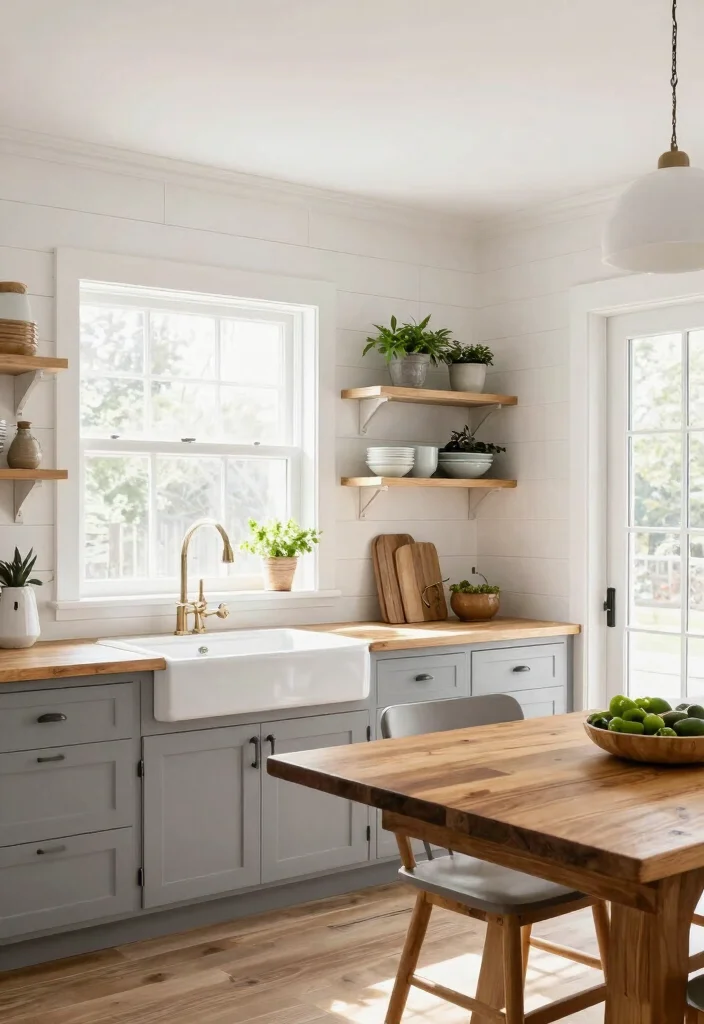
Have you ever walked into a room and been captivated by its charm? Maybe it’s the cozy vibe or the rustic finish that gives it that warm farmhouse feel. This time of year has me dreaming of cozy spaces filled with farmhouse decor. If you’re looking to add a touch of elegance without breaking the bank or getting tangled in complicated tools, this post is for you.
I created this guide because I know how challenging it can be to enhance your home’s interior, especially in small spaces. If you’re a DIY enthusiast or someone seeking to elevate your home improvement projects, you’ll love these creative ideas. I pulled together 15 farmhouse crown molding concepts that install without a miter saw. Each concept is simple, stylish, and perfect for your next DIY adventure.
With these ideas, you’ll discover practical and accessible techniques to transform your space effortlessly. Whether you’re a beginner or an experienced DIYer, you’ll find inspiration that fits your style and skill level. Get ready to roll up your sleeves and bring those rustic interior design dreams to life!
Key Takeaways
– You can enhance your home with farmhouse crown molding using easy techniques that don’t require a miter saw.
– Each project idea caters to different styles, making it suitable for various tastes in farmhouse decor.
– Discover how to add character to small spaces with simple, yet effective molding designs.
– Learn practical molding installation tips that make the process manageable and enjoyable.
– Elevate your interior with creative projects like decorative ceiling medallions and DIY faux crown molding.
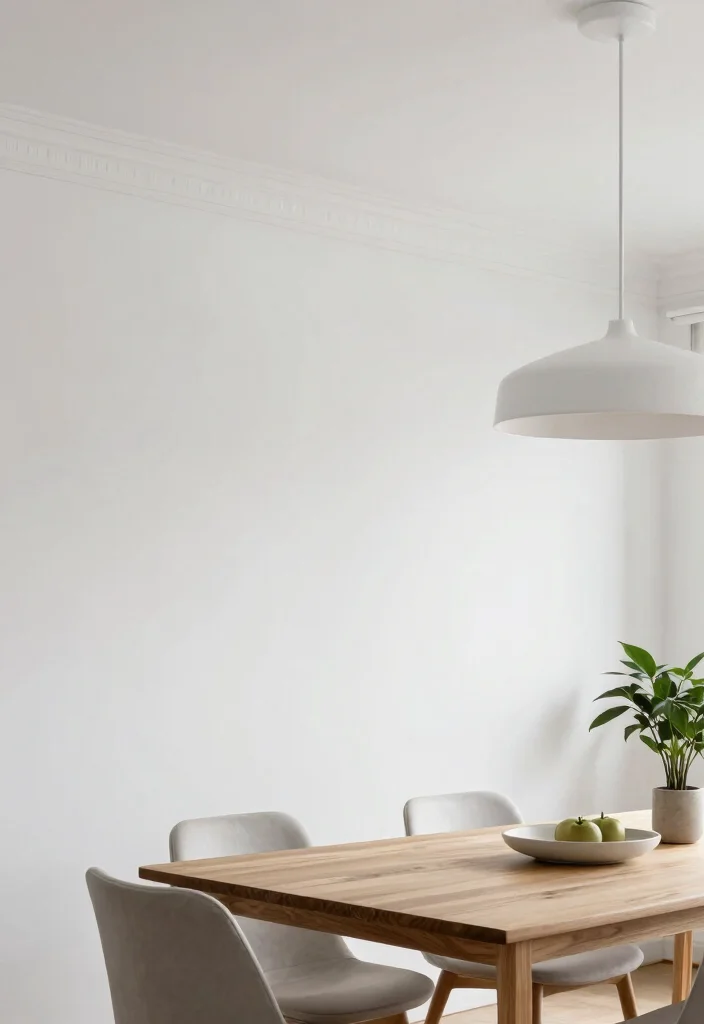
1. Simple Board and Batten Style
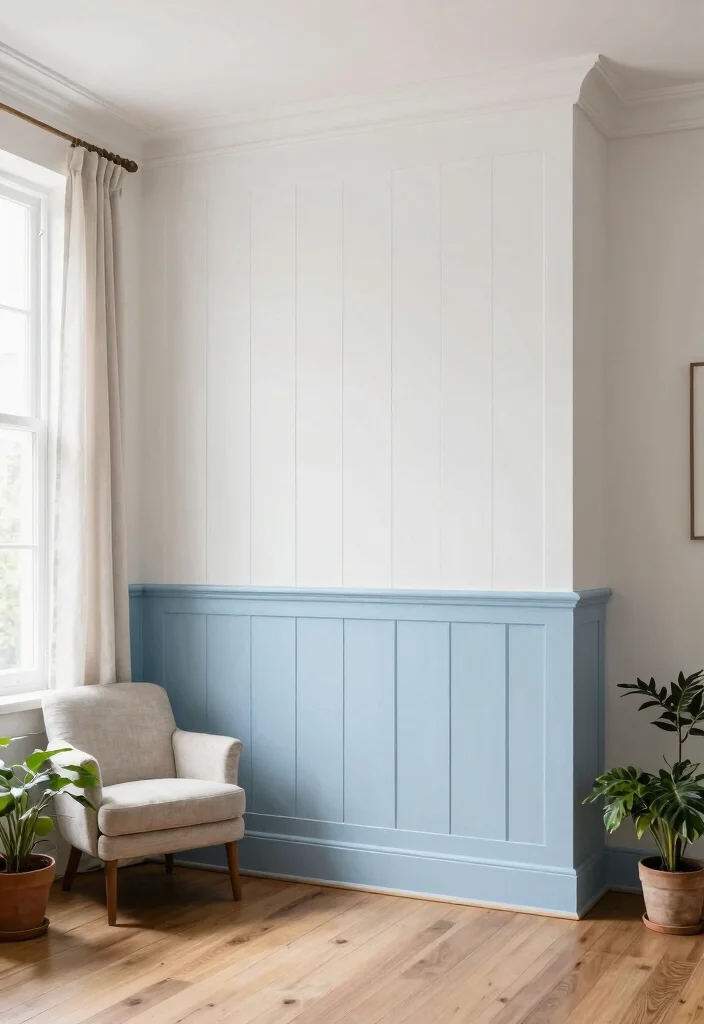
The simple board and batten style is an excellent way to elevate your walls while maintaining a farmhouse charm. This design involves vertical boards with a horizontal cap, creating a classic look that draws the eye upward, enhancing the sense of space. Pairing this with a light color scheme, like crisp white or soft pastels, allows the design to breathe and blend beautifully with neutral furnishings.
To implement this style, consider using budget-friendly materials that mimic the look of traditional wood. This method not only adds elegance but also resonates with the current trend of incorporating natural elements into home design.
Consider these tips to maximize this design:
– Pair vertical boards painted white with a natural wood cap
– Install boards evenly spaced for a cohesive look
– Use caulk to fill any gaps for a clean finish
This approach not only beautifies your walls but also brings a touch of rustic sophistication that complements any farmhouse-inspired decor.
Difficulty Rating & Requirements
Overall Difficulty Rating: Medium
Installing farmhouse crown molding without a miter saw can be moderately challenging. This project is suitable for DIY enthusiasts who have some basic carpentry skills but might not be experts. If you’re comfortable with measuring, cutting, and using a few hand tools, you’ll be able to tackle these projects with confidence.
Time Estimate:
⏱ Estimated time: 4-8 hours
Here’s a breakdown of the time for major phases:
1. Planning and measuring: 1-2 hours
2. Cutting and preparing the materials: 1-3 hours
3. Installation: 2-3 hours
4. Finishing touches (painting, caulking, etc.): 1 hour
Skill Requirements:
– Required skills: Basic measuring, cutting, and installing techniques. Familiarity with hand tools is a plus.
– Beginner-friendly: Yes, this project can be beginner-friendly if you follow instructions closely and take your time.
– Skills that can be learned include measuring accurately and using a level. Some aspects, like precision cutting for corners, may require a bit of practice.
Tools & Materials Needed:
🧰 Essential items checklist:
– Measuring tape (required)
– Level (required)
– Utility knife (required)
– Adhesive or construction glue (required)
– Nail gun or hammer (optional, but recommended)
– Paint or stain (optional for finishing)
– Caulk and caulking gun (optional for neat edges)
– Wood filler (optional for filling gaps)
Step-by-Step Overview:
1. Planning & Measuring (1-2 hours): Measure the perimeter of the room to determine how much crown molding you need. Sketch a layout to visualize how the molding will look.
2. Cutting & Preparing (1-3 hours): Cut your chosen molding material to length. You can use a handsaw, which is easier than a miter saw for beginners. Make sure to practice your cuts on scrap pieces first.
3. Installation (2-3 hours): Start at a corner and work your way around the room. Use adhesive and nails to secure the molding to the wall. A level will help ensure everything is straight.
4. Finishing Touches (1 hour): Caulk any gaps between the molding and the wall for a clean look. Paint or stain the molding to match your farmhouse decor style.
Professional vs DIY: Hiring a professional for crown molding installation can cost anywhere from $4 to $10 per linear foot, depending on the complexity and materials used. For a DIY project, your costs will be lower, primarily depending on the materials you choose. By doing it yourself, you can easily save up to 50% or more, making it a budget-friendly option if you’re ready to put in the effort. If you’re not confident in your skills or want a perfect finish, hiring a professional might be the way to go.
2. Beadboard Molding
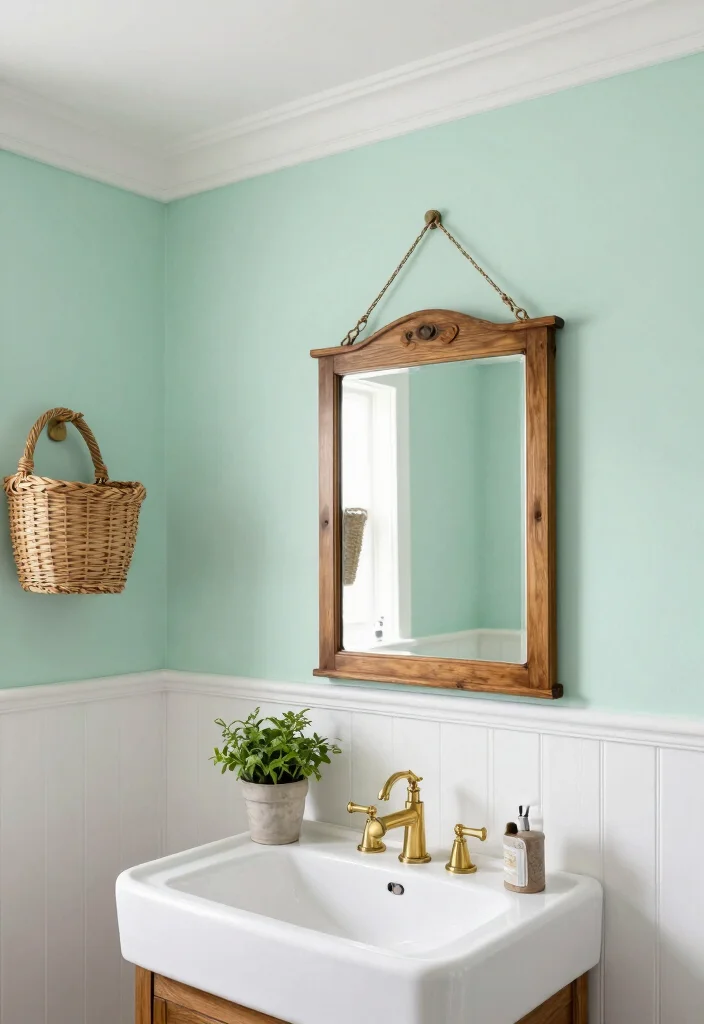
Beadboard molding is a timeless choice that infuses your space with texture and charm. Its narrow, vertical grooves evoke a sense of tradition while providing a warm, inviting atmosphere. When painted in soft whites or earthy tones, it complements various decor elements, making it a versatile addition to your home.
For effective implementation, you can find affordable beadboard options at your local home improvement store. This style works particularly well in kitchens and bathrooms, enhancing the rustic yet refined appeal of these spaces.
Here are some practical installation tips:
– Pre-cut beadboard to fit your wall dimensions
– Secure it using adhesive caulk and finishing nails
– Sand the surface before painting for a smooth finish
With beadboard molding, you’ll create a refreshed look that honors traditional craftsmanship while embracing contemporary aesthetics.
Beadboard is a timeless favorite for farmhouse crown molding—its narrow vertical grooves add texture without shouting. Paint it soft whites or earthy tones, and your kitchen or bathroom will feel warm, inviting, and instantly cohesive.
3. DIY Faux Crown Molding

If you’re on a budget but still want the elegance of crown molding, DIY faux molding is an ideal solution. Using lightweight materials like foam or simple wood strips, you can achieve a sophisticated look without the complexity of traditional installation. Painting these pieces to match your walls helps them blend seamlessly into your decor.
This approach allows you to add architectural interest without the commitment of permanent fixtures. It’s perfect for renters or anyone looking to refresh their space affordably.
Here’s how to create your faux crown molding:
– Measure and cut materials to fit your wall’s length
– Use construction adhesive to attach the pieces securely
– Finish with caulk for a sleek appearance
This creative solution adds an element of charm, making your home feel more inviting and stylish.
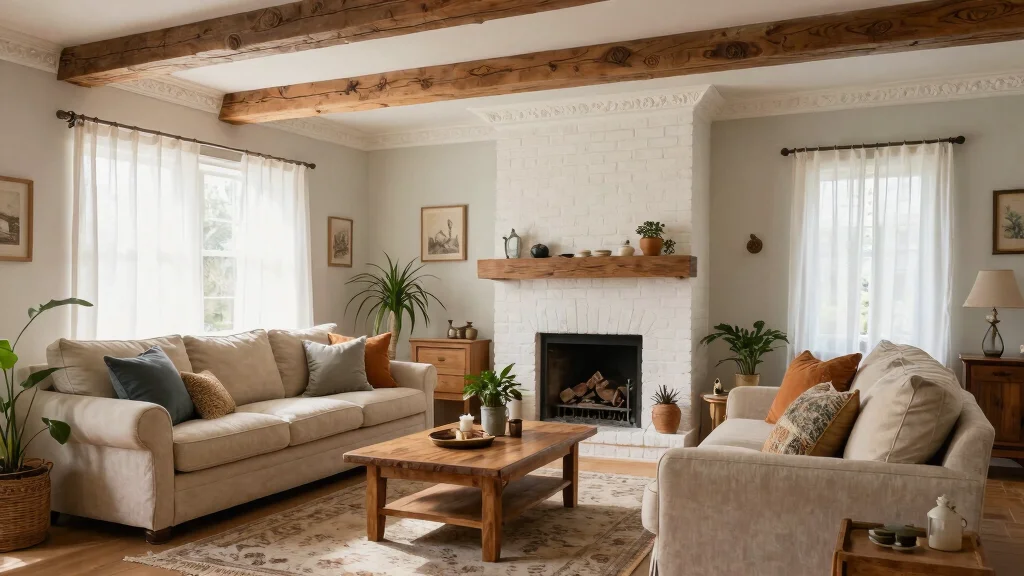
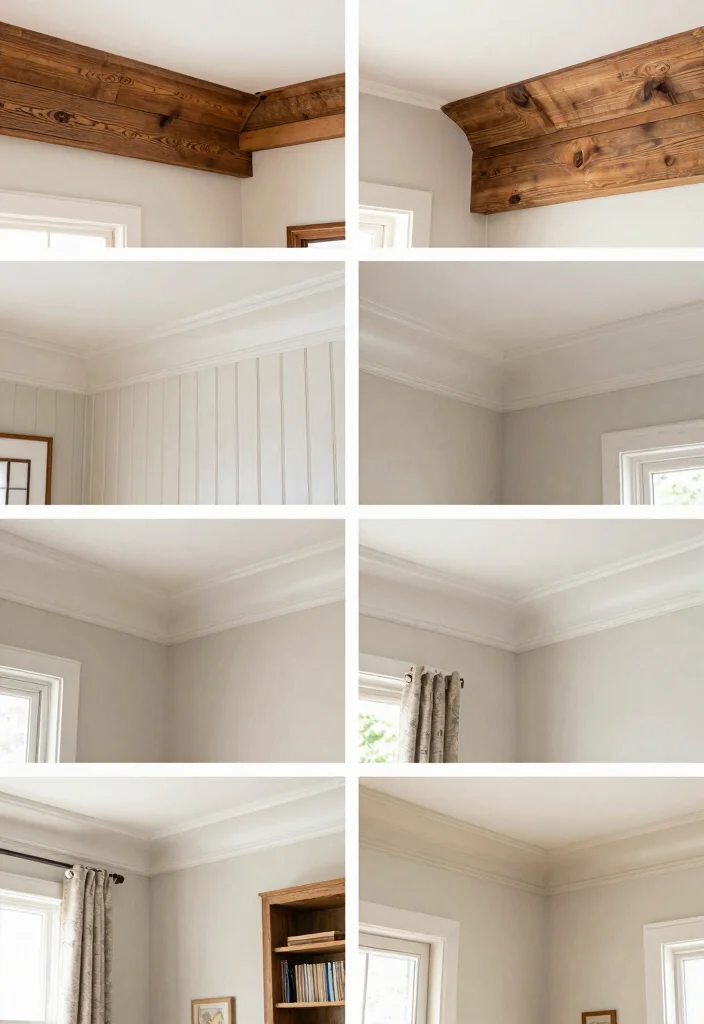
4. Rustic Wooden Planks
Embrace the natural beauty of reclaimed wood planks for a unique crown molding style that radiates warmth and character. Each plank carries its own story, making your space feel both cozy and distinctive. A weathered finish enhances this rustic aesthetic, perfect for living rooms and entryways.
To implement this style, look for reclaimed wood at local salvage yards or lumber stores. This choice not only promotes sustainability but also enriches your interior with natural textures.
Here are some installation tips:
– Select planks with interesting textures for added depth
– Secure them with wood glue and nails for durability
– Sand and seal to protect the wood
This rustic crown molding ties together various design elements, creating a cohesive farmhouse aesthetic that feels inviting.
Fun fact: reclaimed wood planks can reduce waste by up to 70% while giving your farmhouse crown molding authentic character. Your living room gains warmth that only weathered finish delivers, and yes, it’s a practical, budget-friendly upgrade you can DIY with common tools.
5. Simple Lattice Design
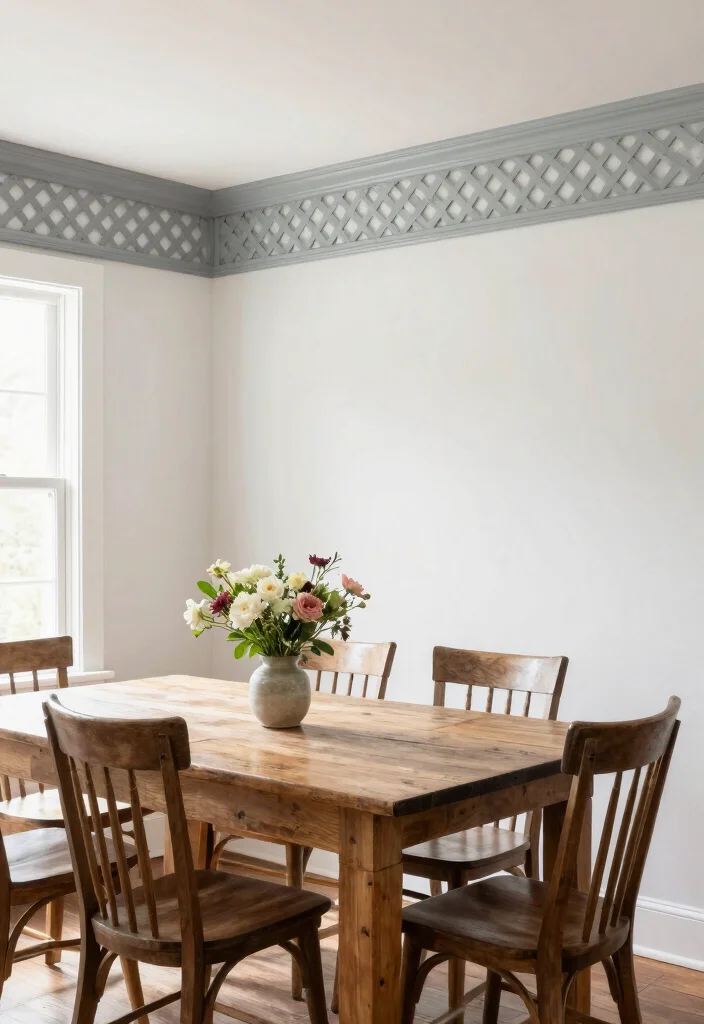
A lattice crown molding introduces a playful yet refined aesthetic to your home. The crisscrossed strips create depth and visual interest without overwhelming smaller spaces, making them feel both stylish and spacious. This design works beautifully in rooms that need a touch of elegance without sacrificing openness.
For practical implementation, consider using lightweight materials that are easy to work with. Painting the lattice in a color that matches your walls can create a seamless transition or a contrasting statement.
Use these tips for your installation:
– Cut strips to uniform lengths for consistency
– Secure with adhesive and finishing nails for stability
– Opt for a color that complements your room
Incorporating a lattice design enhances the room’s character, creating a visually appealing focal point that delights the eye.
6. Decorative Ceiling Medallions
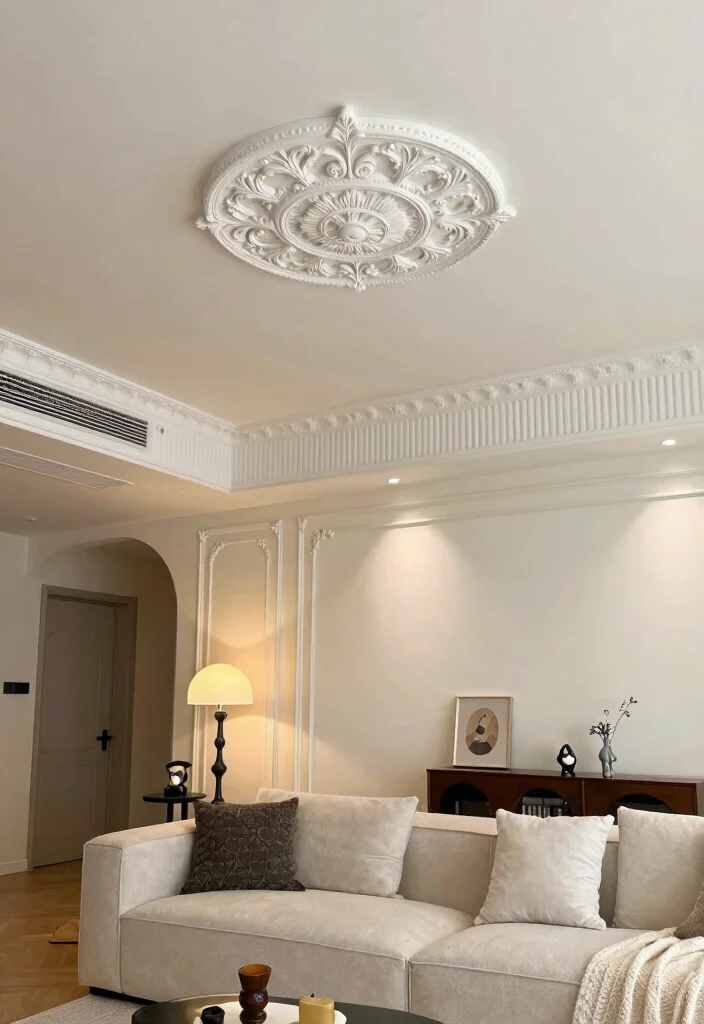
Ceiling medallions add a touch of elegance to your crown molding, serving as stunning focal points that draw the eye upward. These decorative pieces can be intricate or simple, depending on your style preference, and are ideal for enhancing the transition between the wall and ceiling.
Choosing materials that match your decor, like classic white or rustic wood tones, can elevate the overall aesthetic. This technique is particularly effective in rooms where you want to make a bold design statement.
Here are some tips for installation:
– Use construction adhesive to secure the medallion
– Center and level it before the adhesive dries
– Paint or stain to match your existing decor
By adding a ceiling medallion, you enhance the elegance of your crown molding, creating a unique visual interest that enriches your space.
7. Thrifted Frame Molding
Thrifted or repurposed picture frames can transform into unique crown molding, adding personality and a sustainable touch to your space. By arranging various frames around the top of your walls, you can create a layered effect that speaks to your personal style.
This approach is wonderful for eclectic or vintage-themed rooms, allowing you to showcase your creativity while being eco-conscious. Look for frames at thrift stores or garage sales for budget-friendly finds.
Consider these installation tips:
– Use lightweight frames in good condition
– Secure with adhesive and small finishing nails
– Paint frames for a cohesive look
This innovative twist on crown molding allows you to express your individuality while achieving a visually stunning effect.
8. Simple Shiplap Style
Shiplap panels are a quintessential element of farmhouse design, and using them as crown molding adds a fresh twist to your space. This style creates clean lines and a bright atmosphere, making your rooms feel airy and open. You can use shiplap either horizontally or vertically, depending on your desired effect.
This design is perfect for small spaces where maximizing visual height is essential. Ensure the boards maintain a consistent width for a polished finish.
Installation tips include:
– Cut panels to size, allowing for expansion
– Secure them with nails or adhesive
– Choose a paint or stain that matches your decor
Incorporating shiplap as molding beautifully contrasts traditional elements, making it a versatile choice for any room.
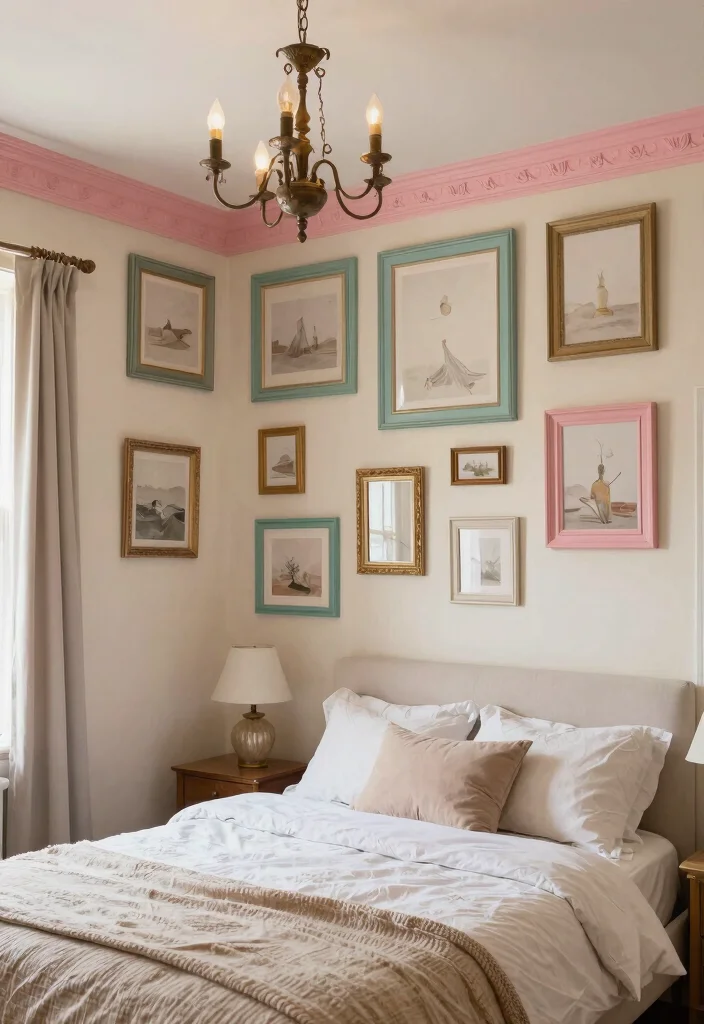
9. Color-Blocked Crown Molding
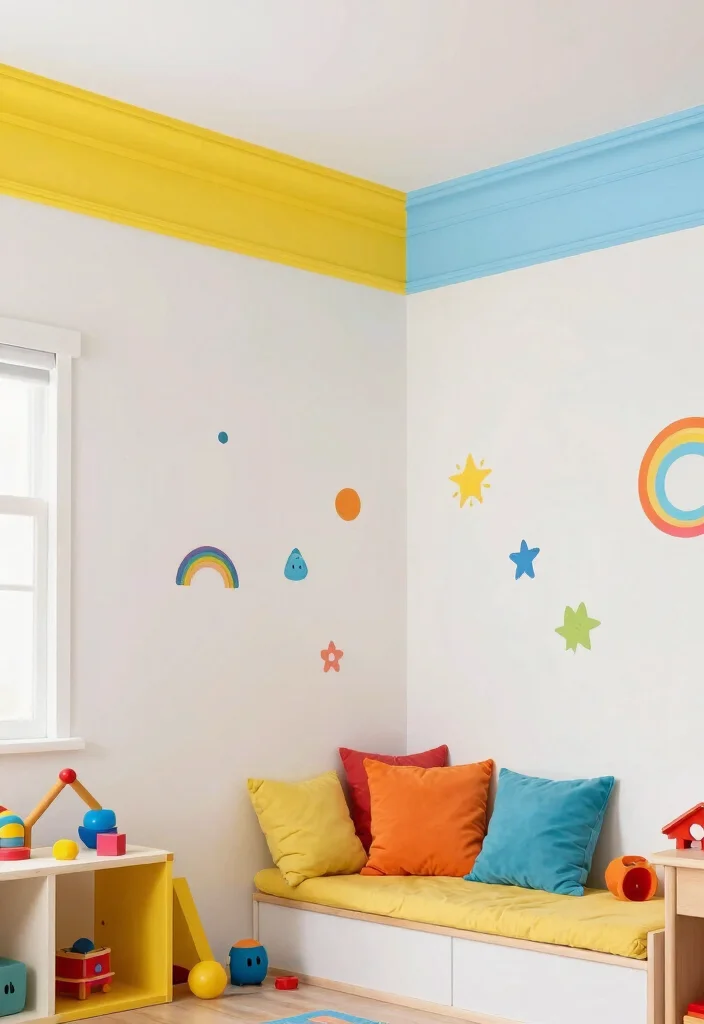
Color-blocking is an exciting design trend that can bring life and energy to your crown molding. By painting sections in contrasting colors, you create a dynamic visual effect that uplifts the overall ambiance of your space, especially in children’s rooms or playful areas.
To achieve this look, use painter’s tape for clean lines and select colors that complement your decor theme. This technique adds a modern flair while retaining a playful touch.
Here are some tips for successful implementation:
– Tape off sections carefully to ensure precision
– Choose colors that harmonize with the rest of your decor
– Paint in sections to prevent smudges
This contemporary approach offers a unique take on traditional crown molding, allowing you to express your creativity within your home.
10. Minimalist Floating Shelves
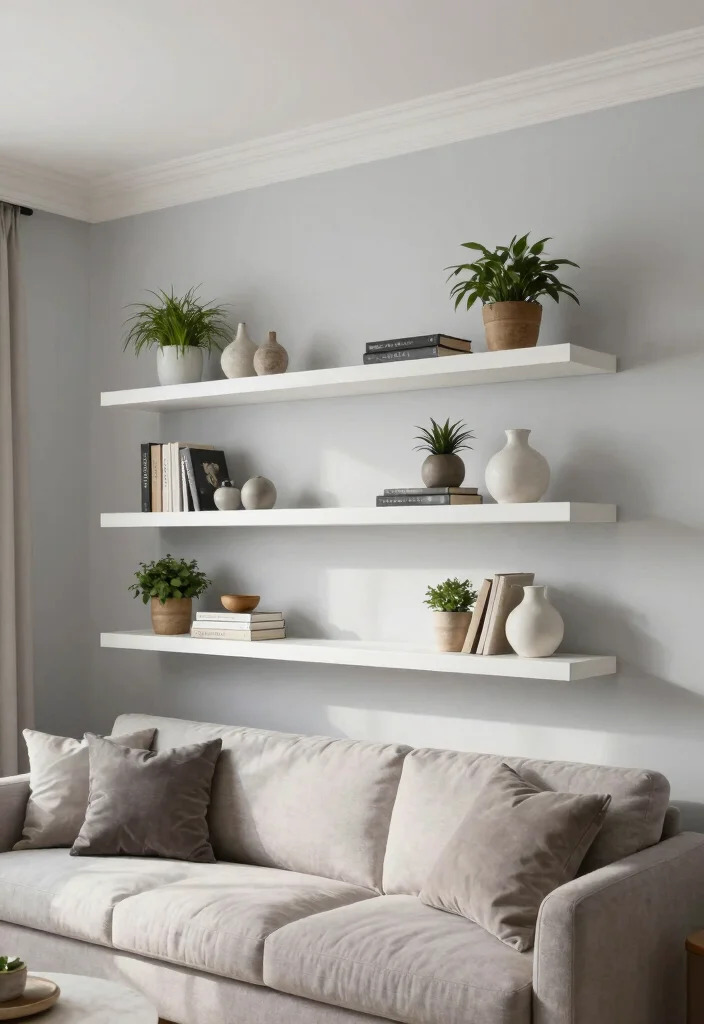
Floating shelves serve as a functional and stylish alternative to traditional crown molding. They offer a modern touch to your space while providing a perfect place to display decor, plants, or books. This option keeps your walls looking clean and uncluttered, adding contemporary flair.
To implement floating shelves effectively, use sturdy brackets that support the weight of your items, and ensure they are level for a polished appearance. This technique is especially useful in small rooms where maximizing vertical space is key.
Consider these installation tips:
– Choose brackets that can handle your shelf’s load
– Ensure the shelves are level for a neat look
– Paint or stain to seamlessly blend with your decor
Floating shelves enhance your decor while maintaining aesthetic appeal, making them a practical choice for modern homes.
11. Accent Wall Crown Molding
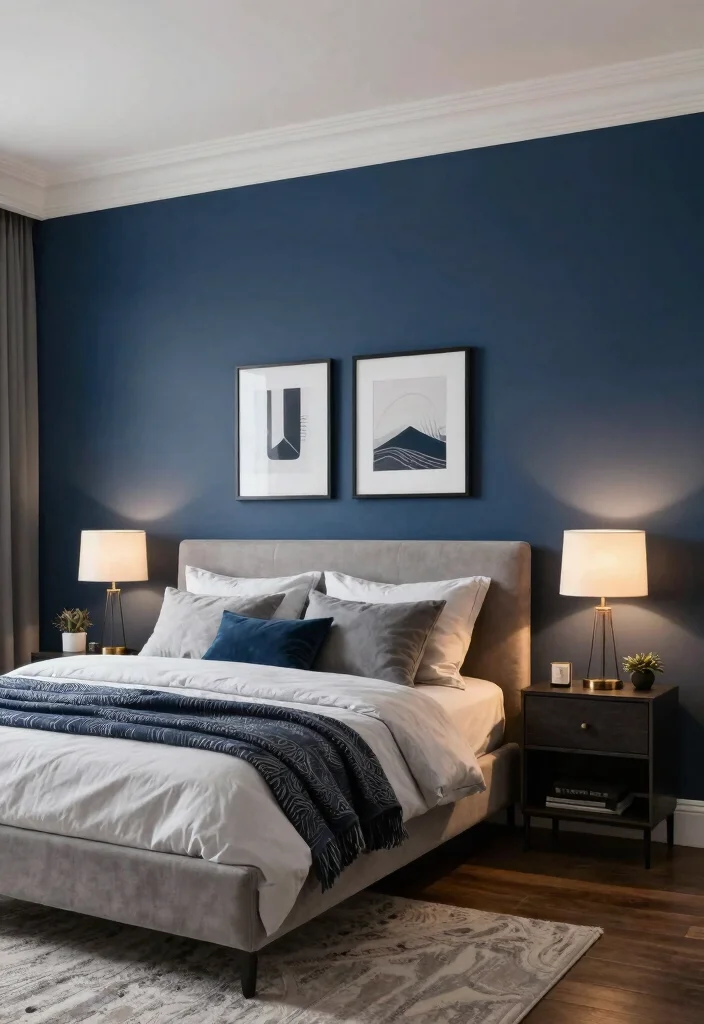
Combining crown molding with an accent wall creates a striking focal point in any room. Using bold or dark colors for the accent wall alongside bright white molding produces a vibrant contrast, adding depth and visual interest to your space. This method effectively guides the eye upward, enhancing the room’s overall design.
To implement this style successfully, choose a color that complements your overall design scheme and ensure the accent wall is painted prior to adding the crown molding. This combination works exceptionally well in living rooms or bedrooms.
Use these tips for installation:
– Select your accent color carefully to enhance your decor
– Paint the accent wall first for a clean finish
– Use an angled brush for crisp edges
This combination not only showcases your design style but also adds a touch of elegance to your home.
12. Simple Box Crown Molding
Box molding presents a straightforward yet stylish crown molding option, creating a clean and modern look in your home. This technique involves outlining the crown area using square or rectangular boards to achieve a minimalist aesthetic that resonates with farmhouse charm.
For implementation, ensure your boards are cut to equal lengths for symmetry and secured with wood glue and finish nails for stability. This design is effective in spaces where you want to maintain simplicity while adding architectural interest.
Consider these installation tips:
– Cut boards to equal lengths for symmetry
– Use wood glue and finish nails to secure
– Paint or stain to match your decor
Box crown molding enhances your space with its clean lines, providing a stylish backdrop for any decor.
13. Farmhouse Ladder Molding
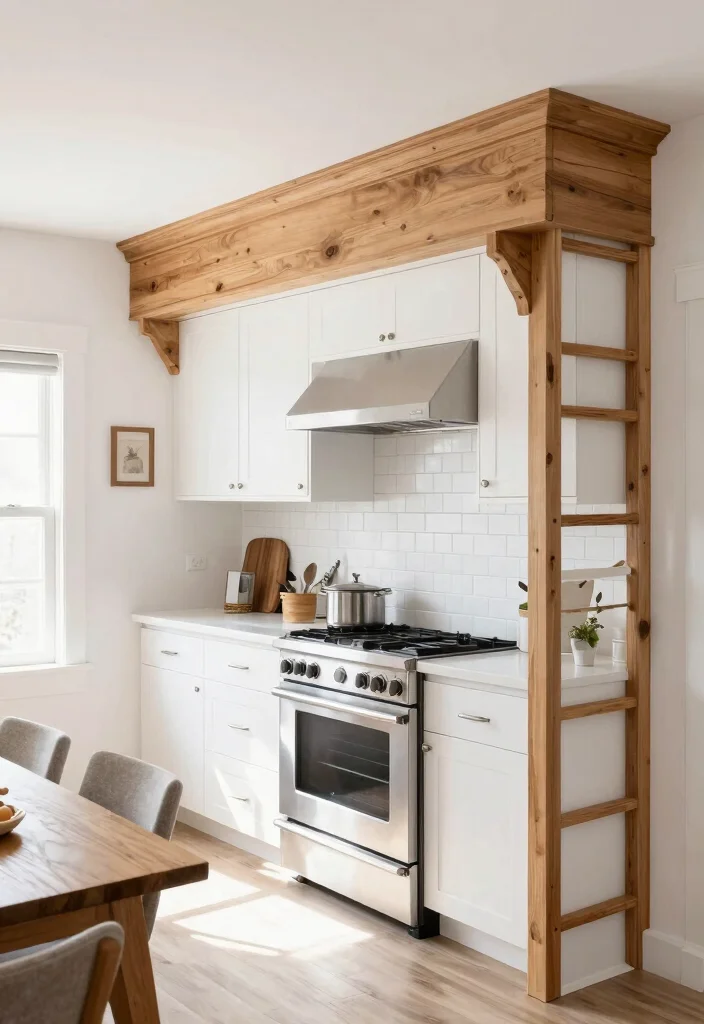
Incorporating a farmhouse ladder design into your crown molding offers a playful yet functional twist. This style combines the rustic charm of a ladder with the structural appeal of molding, creating an eye-catching focal point. It’s perfect for areas where you want to add whimsy and character.
To create this look, use horizontal and vertical boards to form the ladder effect, securing them with adhesive and finishing nails. This design works well in open spaces, allowing for both decorative appeal and functionality.
Follow these tips for installation:
– Create the ladder effect using horizontal and vertical boards
– Secure with adhesive and finishing nails
– Paint in a complementary color to your walls
This unique design serves as an attractive feature while providing light storage for decorative items.
Farmhouse ladder molding is a playful upgrade to classic crown molding. Build a simple ladder with horizontal and vertical boards, secure with adhesive and finishing nails, and let open spaces showcase your decor. It adds whimsy without sacrificing structure, perfect for small spaces.
14. Elegant Arch Crown Molding
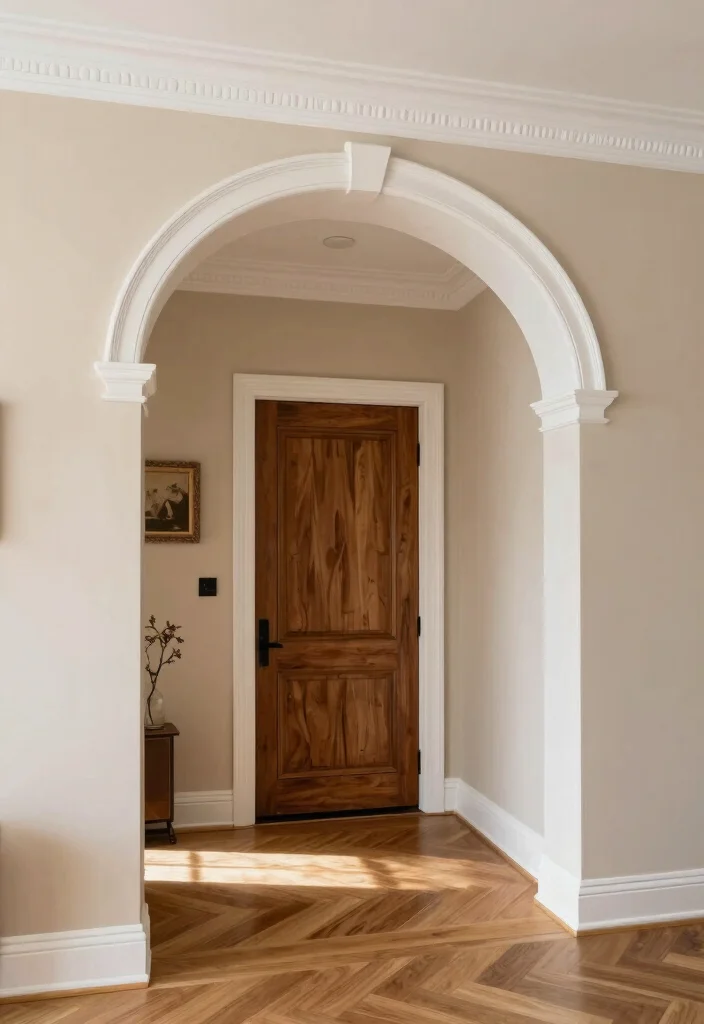
Add an elegant arch design to your crown molding for a sophisticated and soft transition from wall to ceiling. This technique can visually enhance room height and openness, making it especially effective in smaller spaces. An arch creates a graceful look that invites warmth and coziness.
To install this design, use flexible molding to achieve the arch shape. Ensure you take accurate measurements for a balanced appearance and secure the molding with construction adhesive for durability.
Here are some installation tips:
– Use flexible molding to create the arch
– Measure carefully for a balanced look
– Secure with construction adhesive for stability
This elegant arch crown molding adds a welcoming feel to entryways or bedrooms, enhancing the overall design of your home.
15. Farmhouse-Style Fabric Wrapped Molding
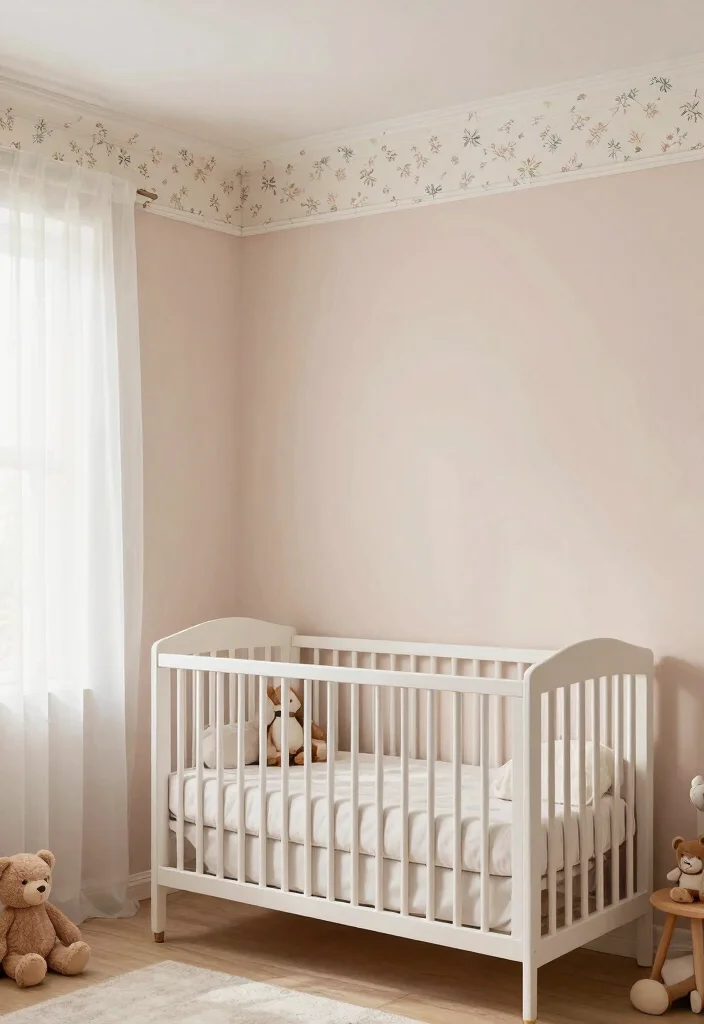
For a touch of softness and comfort, consider fabric-wrapped crown molding. This unique approach involves wrapping lightweight molding with fabric, creating a cozy atmosphere that’s perfect for nurseries or playrooms. It adds an unexpected layer of warmth to your decor.
Choosing a fabric that complements your wall color ensures a seamless look. Secure the fabric with adhesive, carefully tacking it down for a neat finish, and make sure the edges are clean for a polished appearance.
Use these tips for successful implementation:
– Select fabric that matches your decor
– Secure with adhesive for a clean finish
– Ensure edges are well-finished for neatness
Fabric-wrapped crown molding brings a delightful softness to your space, making it feel inviting and truly like home.
Conclusion
Incorporating farmhouse crown molding into your home decor can dramatically enhance the charm and character of any small space.
From simple DIY projects to unique designs, each idea has the potential to transform your interiors. Embrace your creativity and explore which concept resonates with your style, and don’t be afraid to mix and match these ideas.
Your home is your canvas, so let these molding concepts inspire your next DIY project!
Frequently Asked Questions
What are the easiest farmhouse crown molding concepts for small spaces that install without a miter saw?
Great question. Start with simple profiles that don’t require precise angle cuts—think straight stock with a subtle backband, a shallow stepped crown, or a flat ‘picture frame’ style that sits on top of the baseboard. For corners, use coping joints or corner blocks instead of mitered ends. Practical steps: measure ceiling height and wall length, pick a shallow profile that fits your room, cut with a hand saw in a miter box or use pre-cut corner pieces, install with construction adhesive and finish nails, fill gaps with wood filler and caulk, paint or stain to match your rustic farmhouse decor. This approach makes farmhouse crown molding feel authentic without a bulky setup.
What tools and supplies do I need to successfully do DIY crown molding projects without a miter saw?
Here’s a practical starter kit: DIY crown molding requires measuring tape, level, stud finder, a miter box with a handsaw, coping saw for inside corners, a utility knife, clamps, and a sanding block.
For installation: construction adhesive, finish nails, a nail set, wood filler, caulk, primer and paint or stain, and a cleanup cloth or shop vac.
Optional bits: pre-made corner blocks, backbands, or flexible molding for tricky angles. This setup keeps your home improvement projects ready for rustic interior design while staying budget-friendly.
Can these farmhouse decor ideas work in tight spaces like apartments or rooms with unusual corners?
Absolutely. The key is choosing compact profiles and smart mounting options. In small rooms you can use low-profile crown, backbands, and corner blocks to fake the look without heavy angle cuts. For odd corners, coping joints or blocking behind the drywall can create solid corners without needing a perfect miter. This approach blends well with rustic interior design and farmhouse decor in limited spaces. The result is the charm of farmhouse crown molding without sacrificing floor or ceiling clearance.
What are common mistakes to avoid when installing farmhouse crown molding without a miter saw?
Avoid these: wrong profile scale for the room, over- or under-nailing, not accounting for wall irregularities, rushing the dry-fit without shims, and gaps at corners. Always dry-fit first, level the line, and mark consistent nail lines. Use shims where needed and fill gaps with wood filler and caulk for a seamless look. Remember to test paint coverage on a scrap piece to ensure the finish matches your farmhouse decor.
How do I choose the right farmhouse crown molding profile to suit rustic interior design in small rooms?
Start by considering ceiling height and wall color. For small spaces pick shallow, clean lines that won’t overwhelm the room. Compare profiles like simple bevels, shallow ogee, or a subtle stepped crown and pair with rustic interior design finishes. Consider materials (wood vs foam) for ease of installation and maintenance. Try mock-ups on scrap off-cuts to see how each profile looks when paired with your farmhouse decor and DIY crown molding plan. Finish with a warm paint or stain that complements your furniture and greenery for a cozy farmhouse feel.
Related Topics
farmhouse crown molding
DIY crown molding
rustic interior design
home improvement
small space decor
easy installation
budget friendly
beginner friendly
molding tips
farmhouse decor
minimalist design
quick projects